Tabora is a planet in the Bogon Galaxy featured in Going Commando, home to the abandoned mining area. It is a planet rich with valuable sources of Raritanium and desert crystals, formerly a lush rainforest prior to Megacorp's mass deforestation of the planet. It is now covered in a desert wasteland, with large underground caves, and filled with hostile indigenous species.
Ratchet and Clank traveled to Tabora to meet up with Abercrombie Fizzwidget and deliver the Protopet. However, Fizzwidget crushed their ship, the Star Explorer, and ejected their seats, leaving them stranded on the planet. Luckily, the two were able to find their way back to the surface. With the help of the Mystic, who used the power of desert crystals, they then managed to repair their ship. Afterwards, he purchased any crystals from them for 1,000 bolts each.
History[]
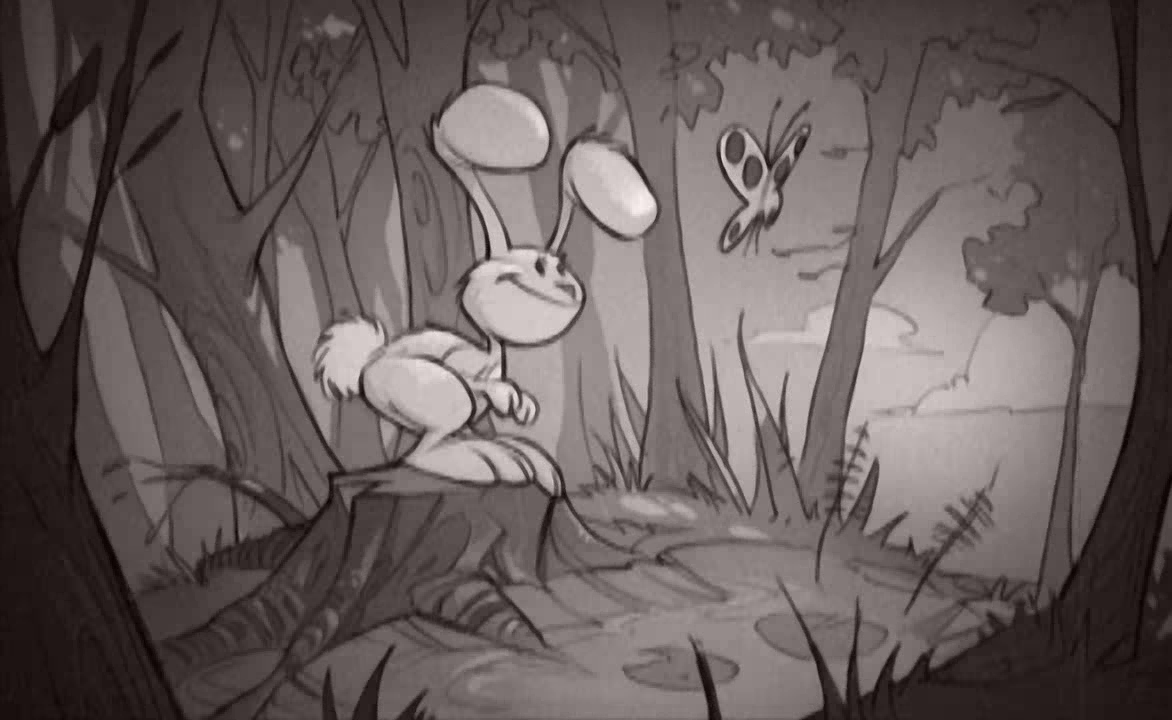
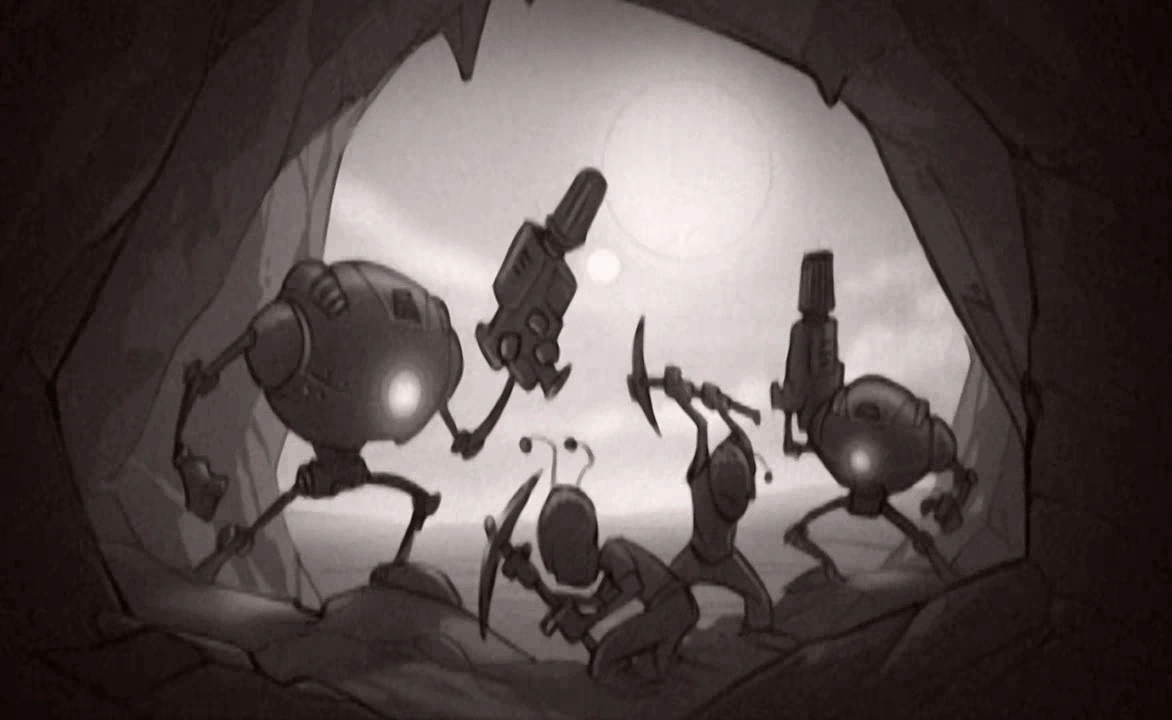
Tabora before and after Megacorp's actions.
Tabora was formerly a rainforest planet, home to mostly harmless species. When Megacorp arrived on the planet, years prior to the events of Going Commando, they decimated the rainforest and transformed the planet into a desert, and built a mining facility ran by a robot management team to cut costs. The mining facility was no longer operational when Ratchet and Clank arrived.[1]
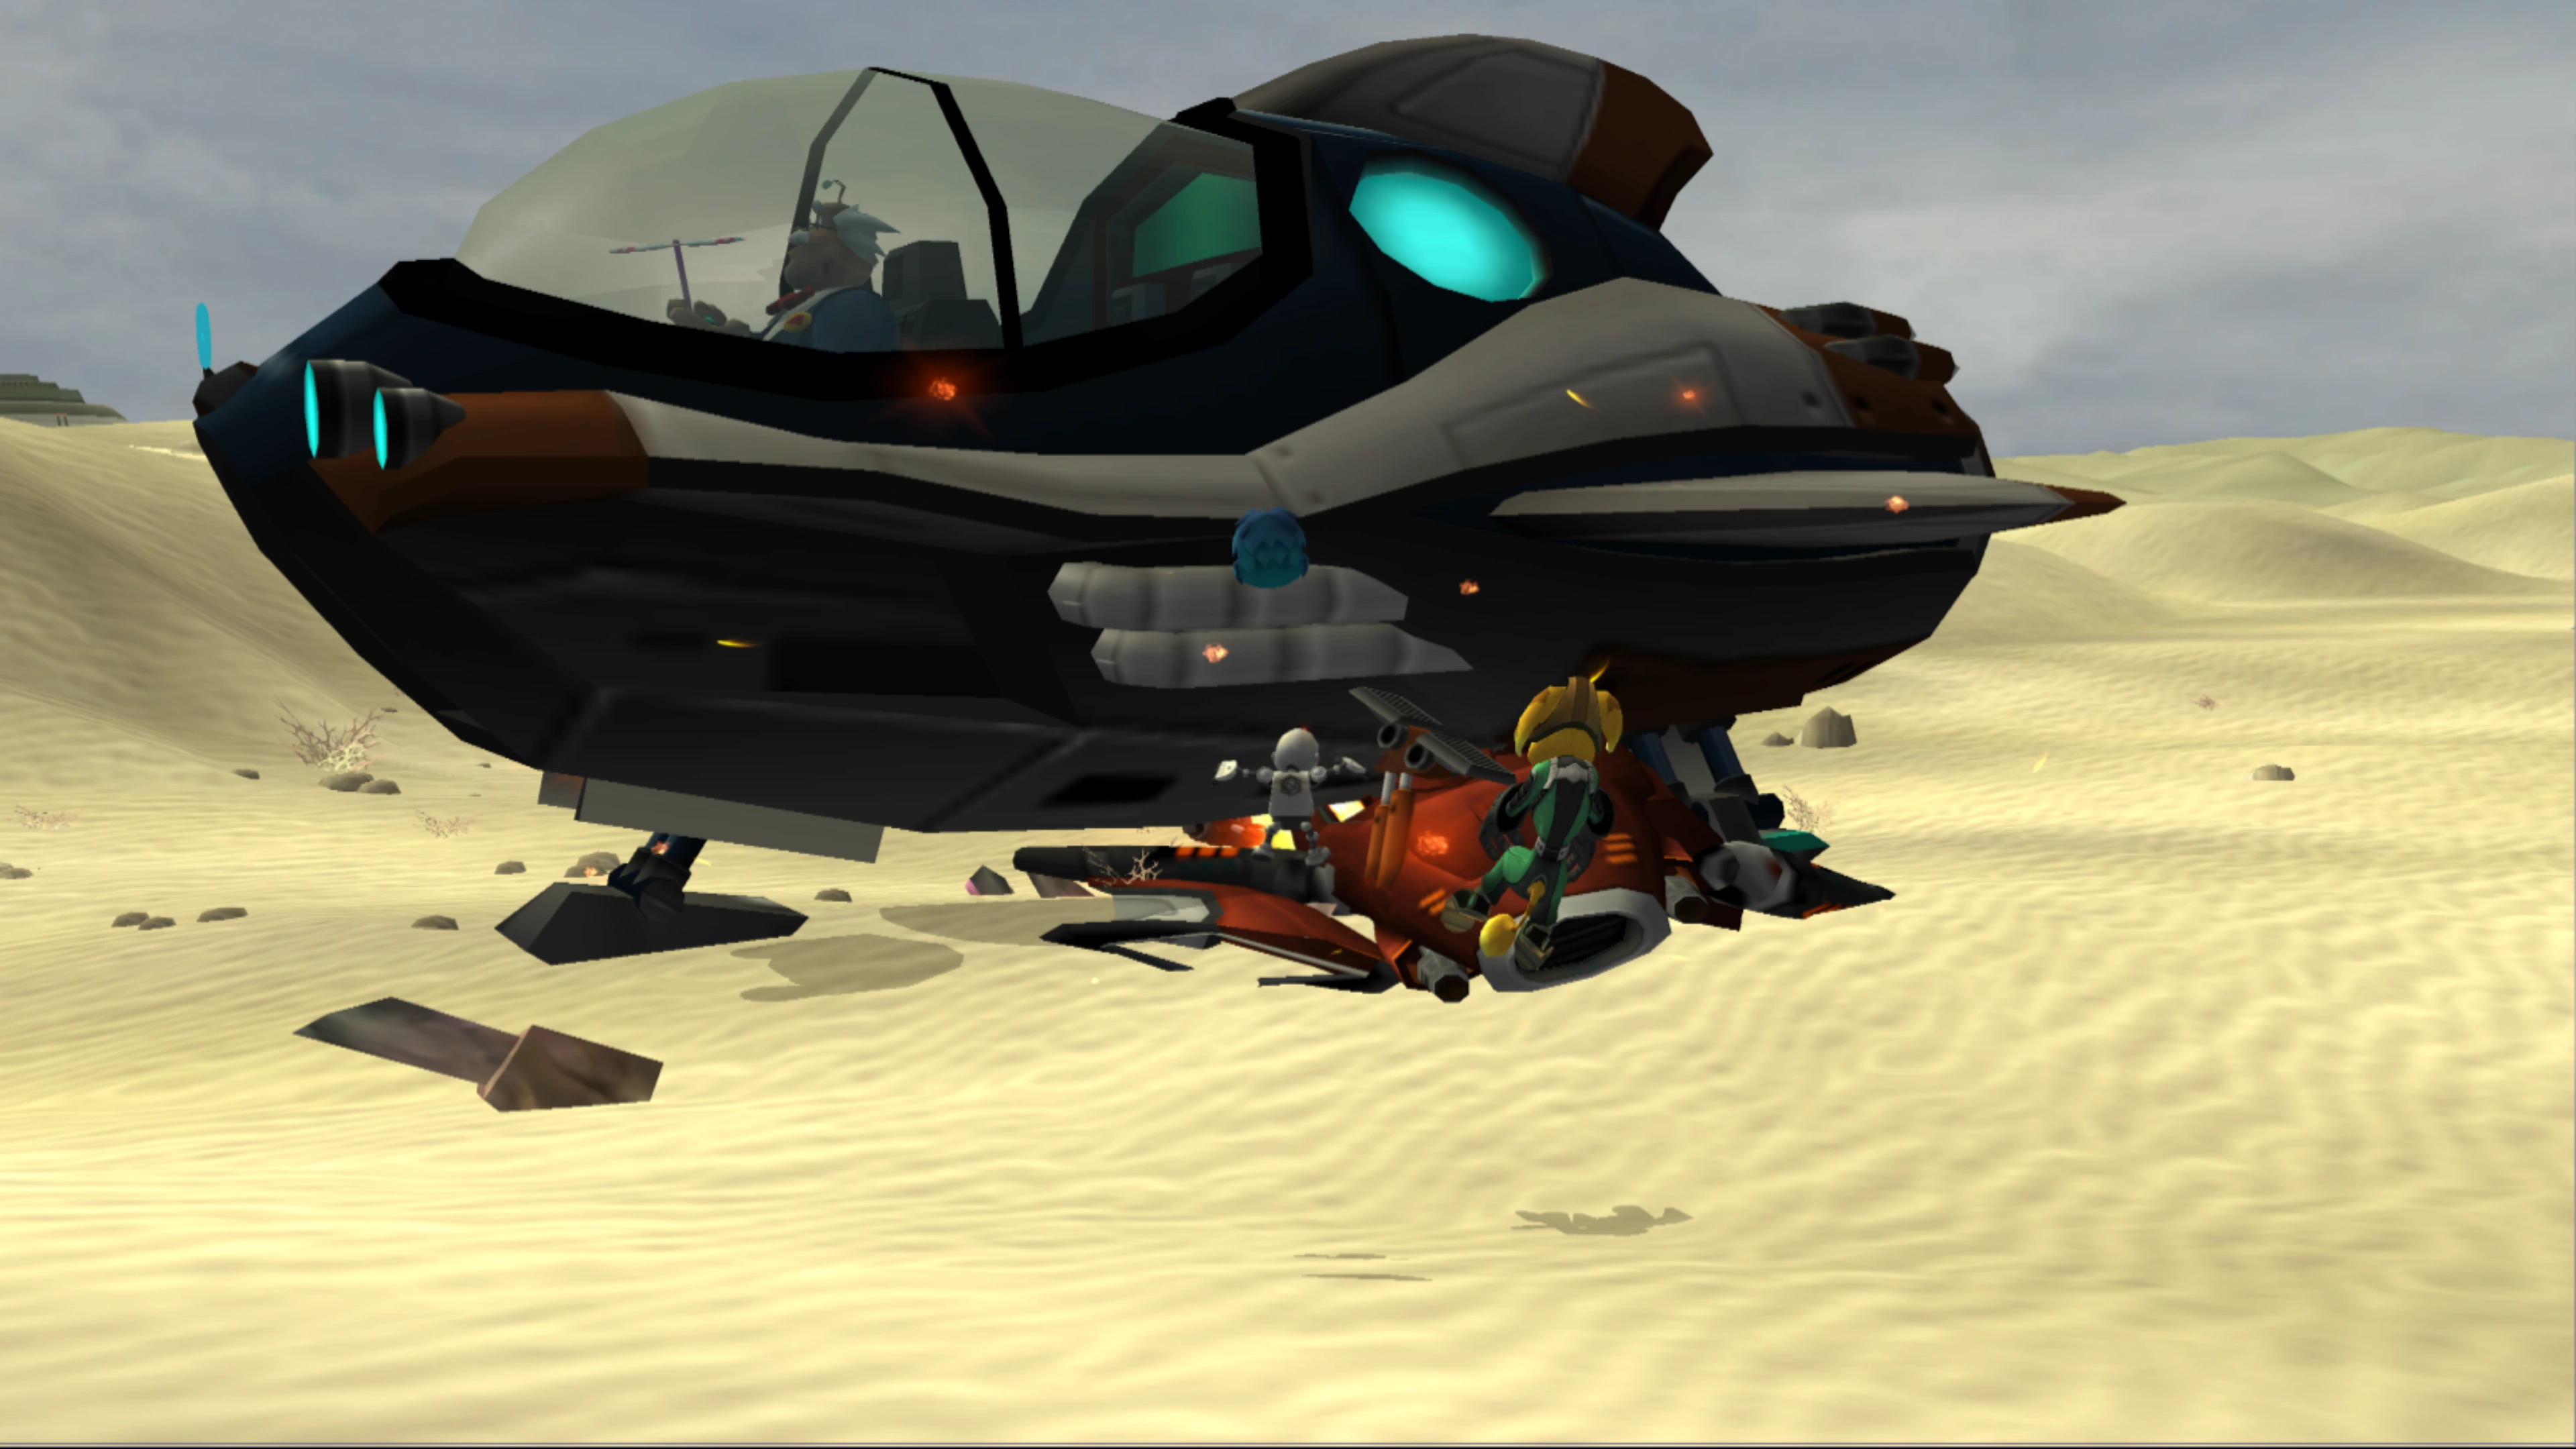
Qwark, disguised as Fizzwidget, 'accidentally' crushing the Star Explorer.
After retrieving the Protopet from Angela Cross in the frozen base on Siberius, Qwark, disguised as Abercrombie Fizzwidget, invited the two to meet him at the abandoned mining facility on Tabora. Upon arriving, Qwark landed with a huge ship, crushing Ratchet and Clank's ship, the Star Explorer. He ensured them not to fear, as the ship was insured.[2] Qwark then took the Protopet, and invited them onto his ship. During the flight, before leaving the planet, Qwark ejected them from their seats, causing them to fall into an underground cave, in hopes of getting rid of them for good.
In "Find a way out of the underground tunnels", Ratchet and Clank searched through the tunnels for a way up to the surface. Along the way, they found the OmniWrench 10000, a superior wrench to Ratchet's OmniWrench 8000, locked behind a logic puzzle that seemed impossible to complete. Ratchet ignored the puzzle, obtained the new wrench, and threw his 8000 away.
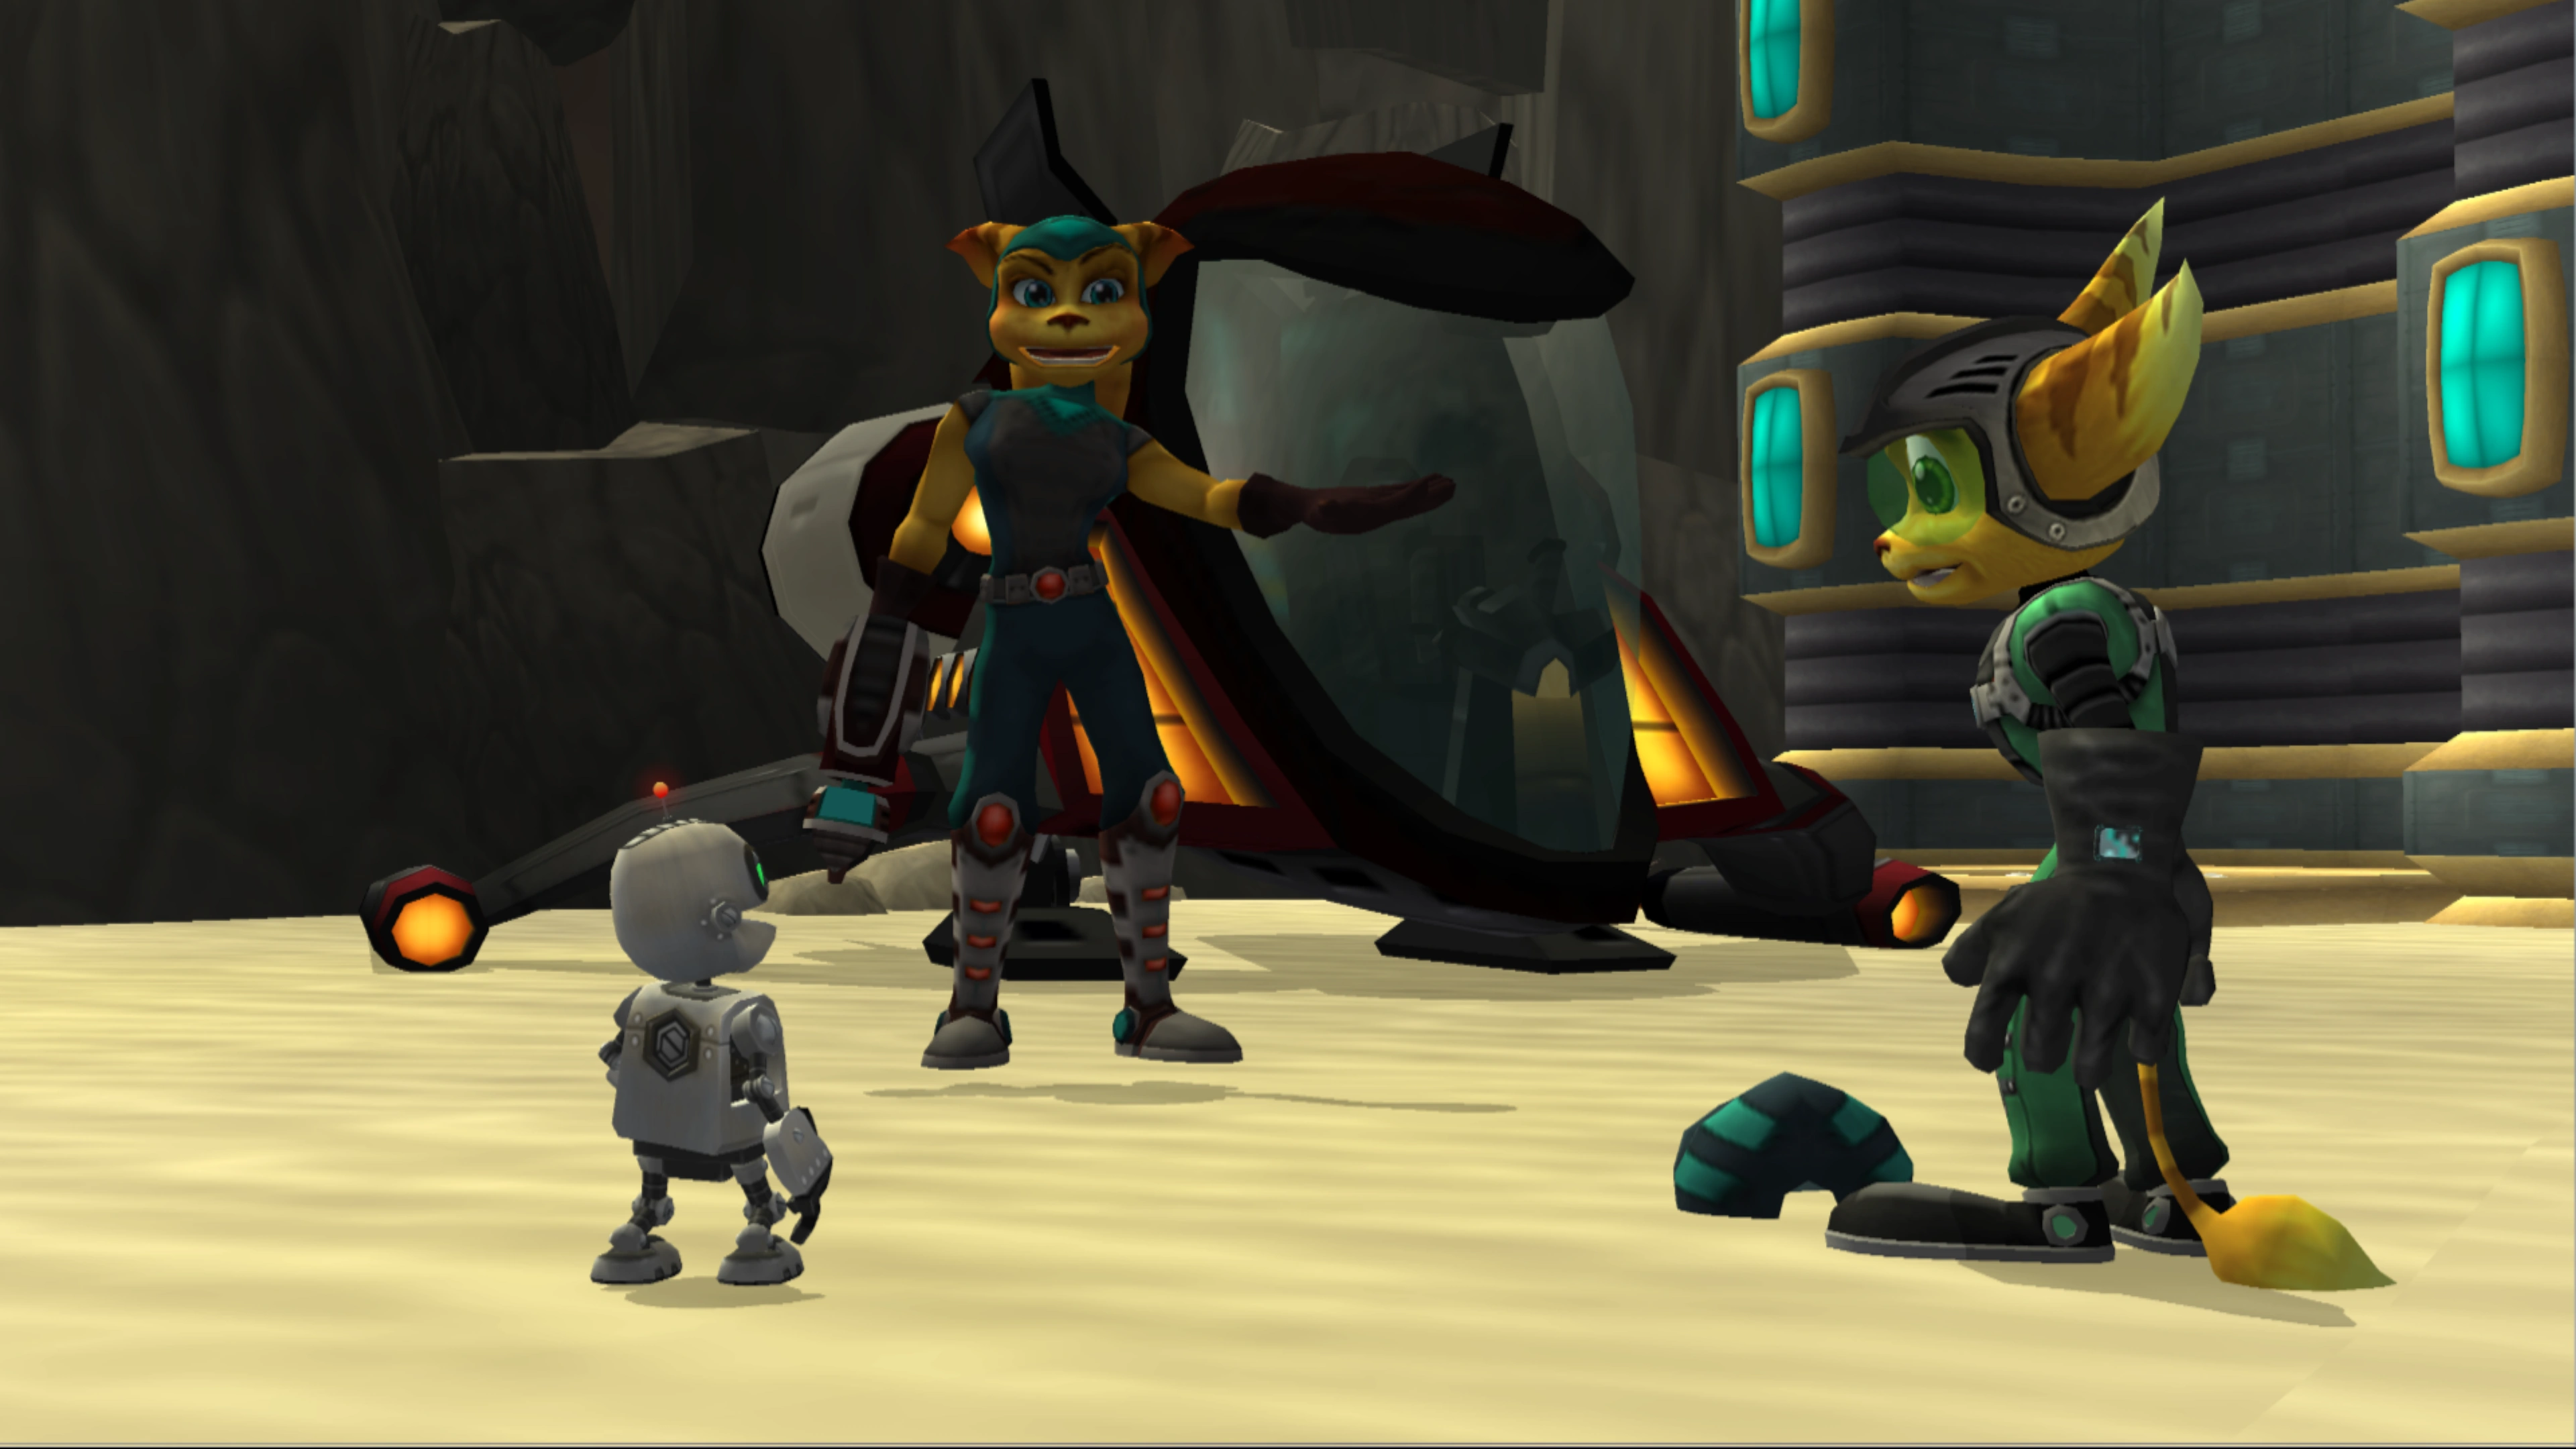
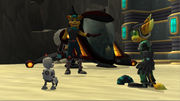
Angela demands they hand over the Protopet.
After reaching the end of the tunnel, Angela Cross, in her Unknown Thief disguise, landed in front of them, demanding they hand over the Protopet. While trying to threaten them, she fell off the top of her ship and tripped over, causing her mask fell off, revealing her to be a female lombax. She assured them that this changed nothing, and ominously told them that they had put the whole galaxy in "imminent danger" by giving the Protopet to Fizzwidget, and gave them a telescreen with coordinates to Dobbo.[3] Though confused, they resolved to travel to Dobbo if they found a ship.

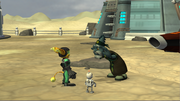
Ratchet and Clank meeting the Mystic.
The two then encountered the Mystic, who had found the debris of their ship. Ratchet protested that it was his, with the Mystic objecting and claiming that possession is an "illusion".[4] He then gave them the mission "Return crystals to mystic", asking for ten desert crystals. While the Mystic appeared delusional, the two obliged as they had no other options.[5] After returning the crystals, the Mystic, to their surprise, repaired the ship. Ratchet and Clank eventually also obtained ninety more crystals, in exchange for bolts.
Additionally, in "Explore the area", Ratchet and Clank searched the rest of Tabora and found the Glider. A button to call Slim Cognito's weapon mods vendor could also be used. They also found a Raritanium mining ship, and used it to mine Raritanium which could be exchanged for upgrades at Slim Cognito's Ship Shack.
While traveling in their ship Dobbo's testing facility, they watched another episode of Behind the Hero, describing how Captain Qwark was sent to court and promptly escaped.
Geography[]
Overview[]

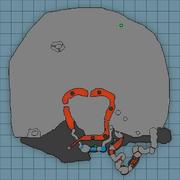
Map layout of the mining area.
Tabora from space appears entirely desolate, covered in desert wastelands following Megacorp's mass deforestation.[1] Though there are apparent continents visible, there seems to be little to no water outside of the underground mines, although lava can be found not too far below the surface, indicating volcanic activity. The mining area consists of a small town[6] with only three small buildings, surrounded by a small fence. A canyon filled with lava is found adjacent to it on the west side. Natural underground tunnels are found close to the town, while underground mines with abandoned facilities are located nearby, with a slope leading towards them.
Underground tunnels[]
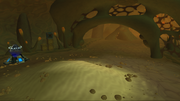
The first area of the underground tunnels.
The underground tunnels are visited only for the mission "Find a way out of the underground tunnels", and cannot be returned to. The tunnels are filled with strange rock formations, that tend to look like oddly twisted support pillars or arches. Sometimes thin webbings are spread between the formations and the wall or ceiling of the tunnel, some also have thin, orange-tipped, growths taller than Ratchet. Several streams of lava can be found throughout, sometimes separating patches of land into islands.


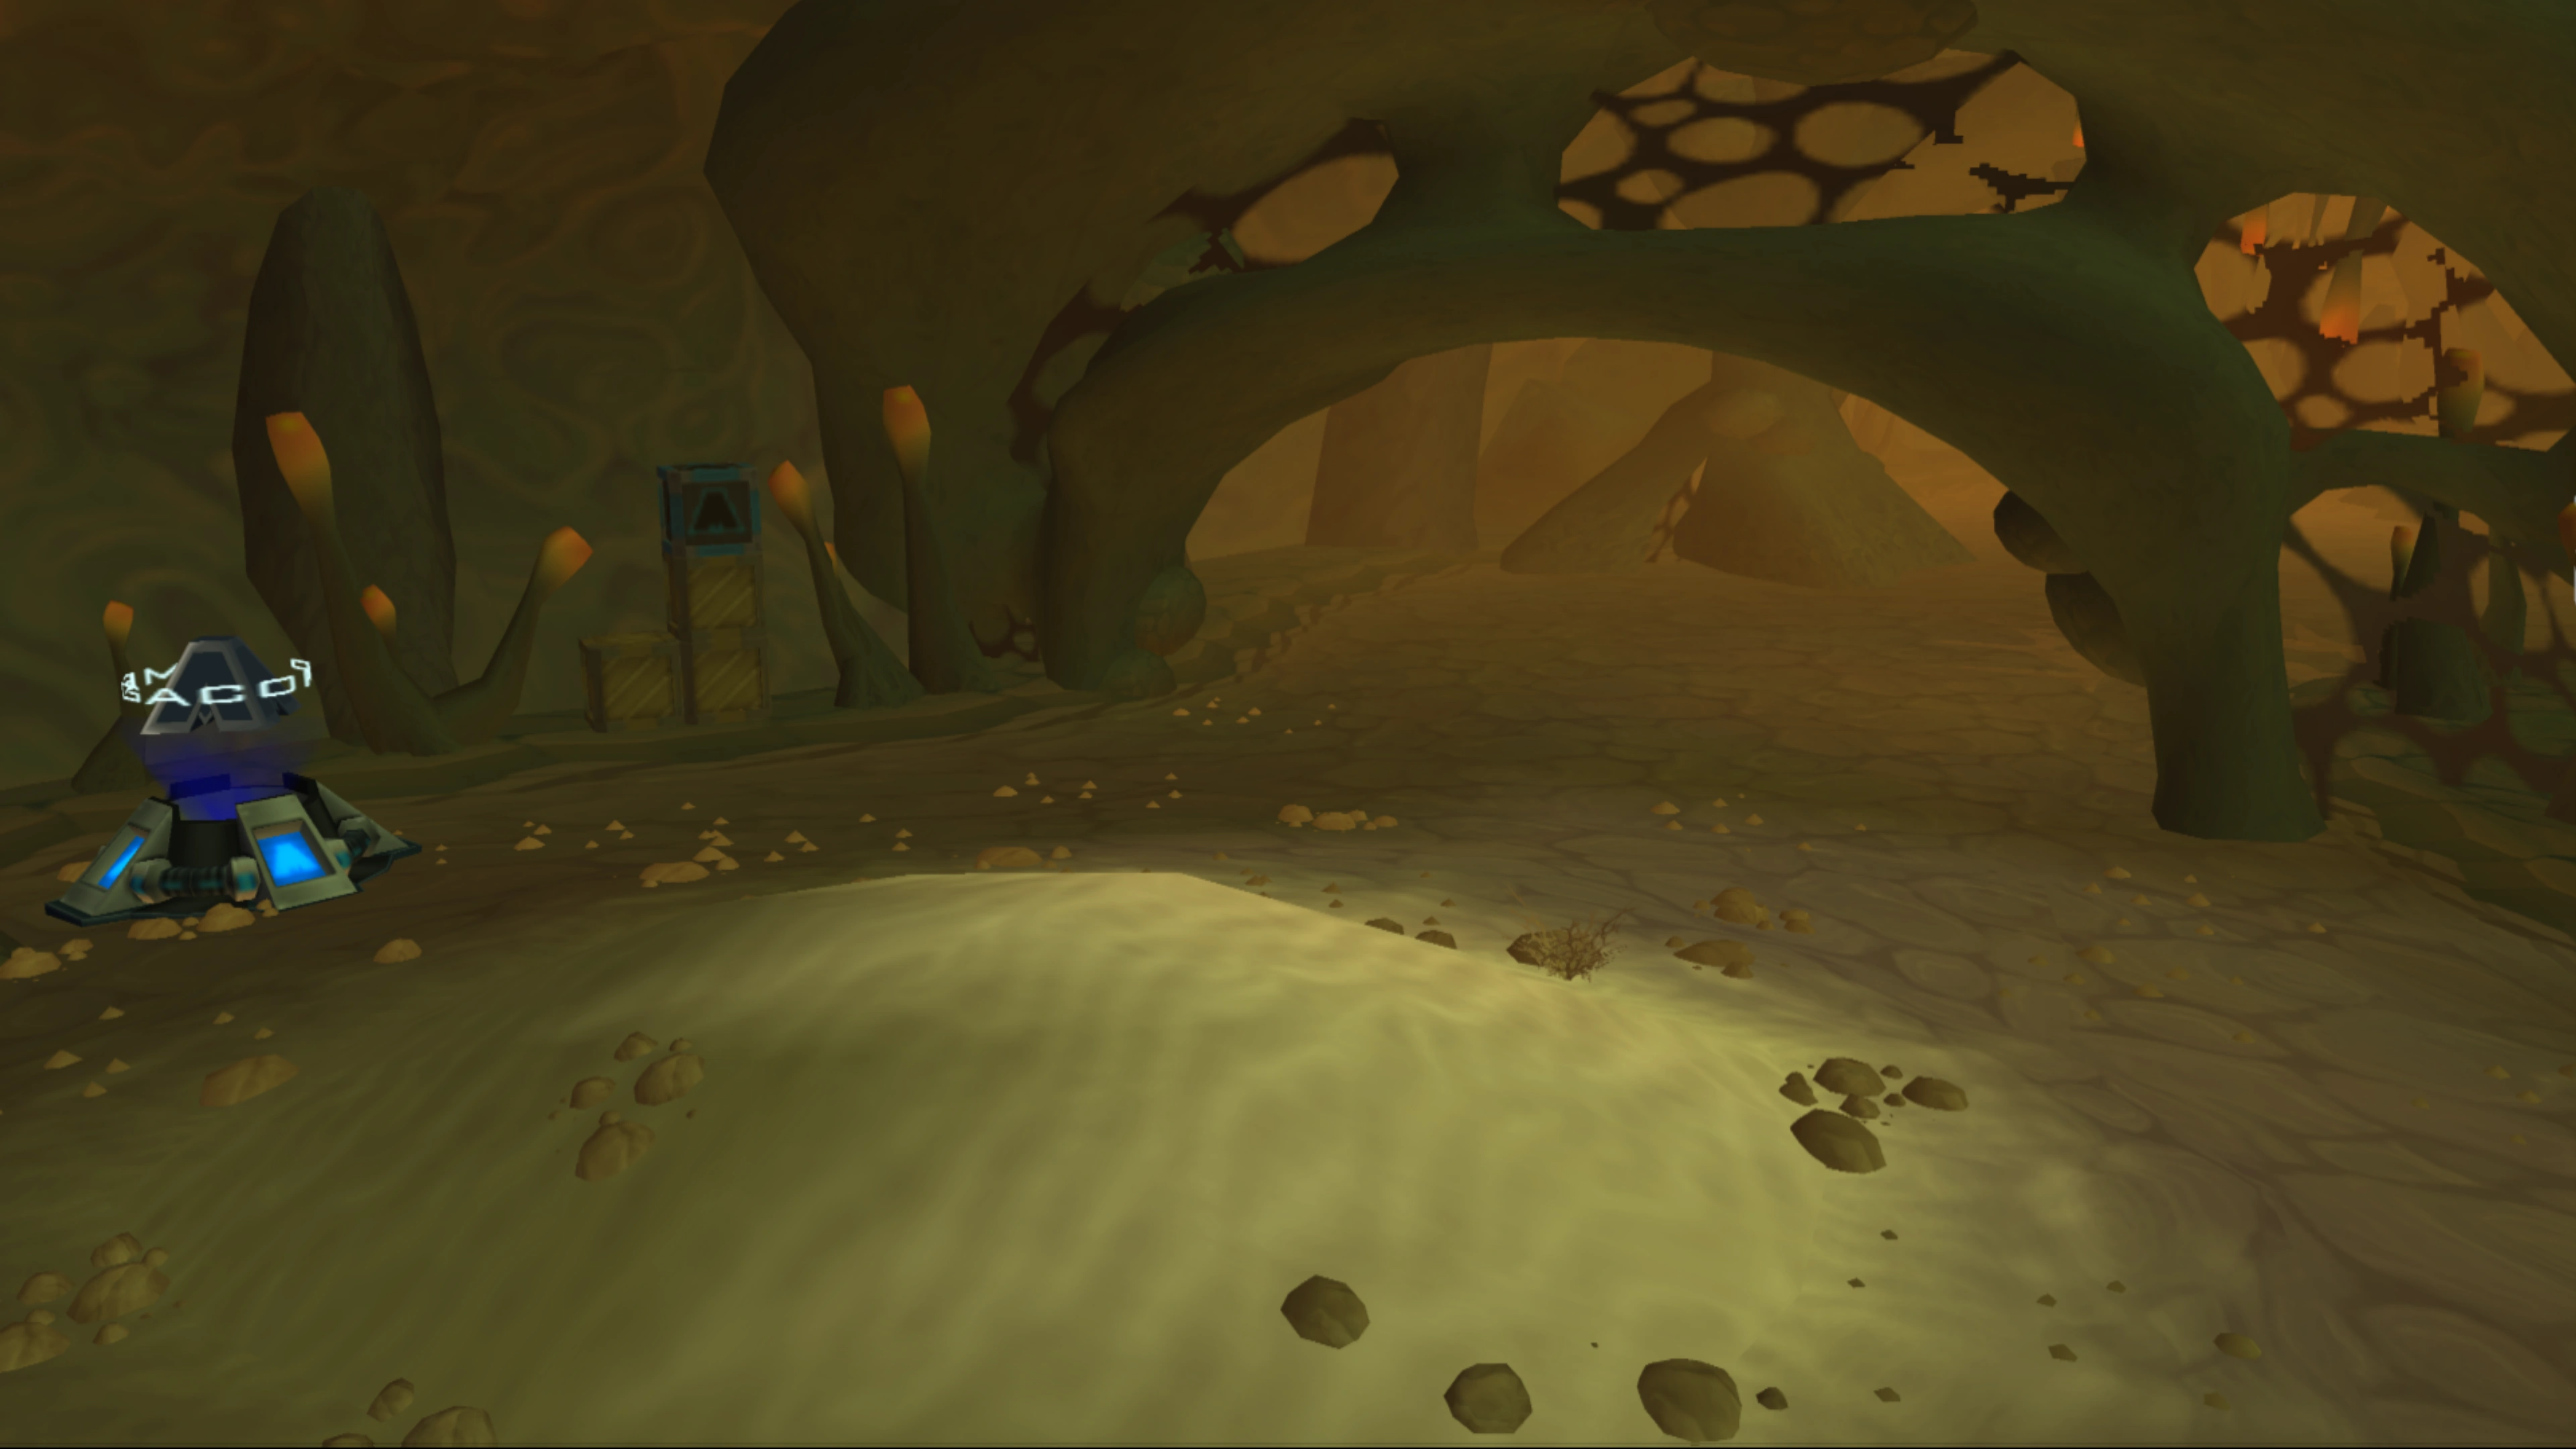
The passage in the underground tunnels.
The tunnels start with a mound of sand in a big hollow cavern where Ratchet and Clank first landed. It then stretches out through a series of caverns, eventually leading to a room with damaged stone walls. This room has two glass display cases: one containing the OmniWrench 10,000, one containing just a rock, with a nonsensical logic puzzle written in binary on both. After this room, the caverns continue with a pool of lava running through them, eventually leading to a patch of sand outside the tunnels, with an elevator shaft up to the town.
Town[]

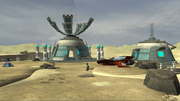
The town.
The town is consists of three small buildings. Each building is round and only one story tall, and contains breakable abandoned mining equipment on shelves, including hammers, discs of an unknown purpose, and large water canisters. The largest building is surrounded by pillars with blue lights on the top, and has a set of rotating panels fixed onto the top. The town unlike the dunes has little sand inside, and most of the surface is rock. On the left of the town, a bridge leads across the canyon to the dunes.
Desert dunes[]

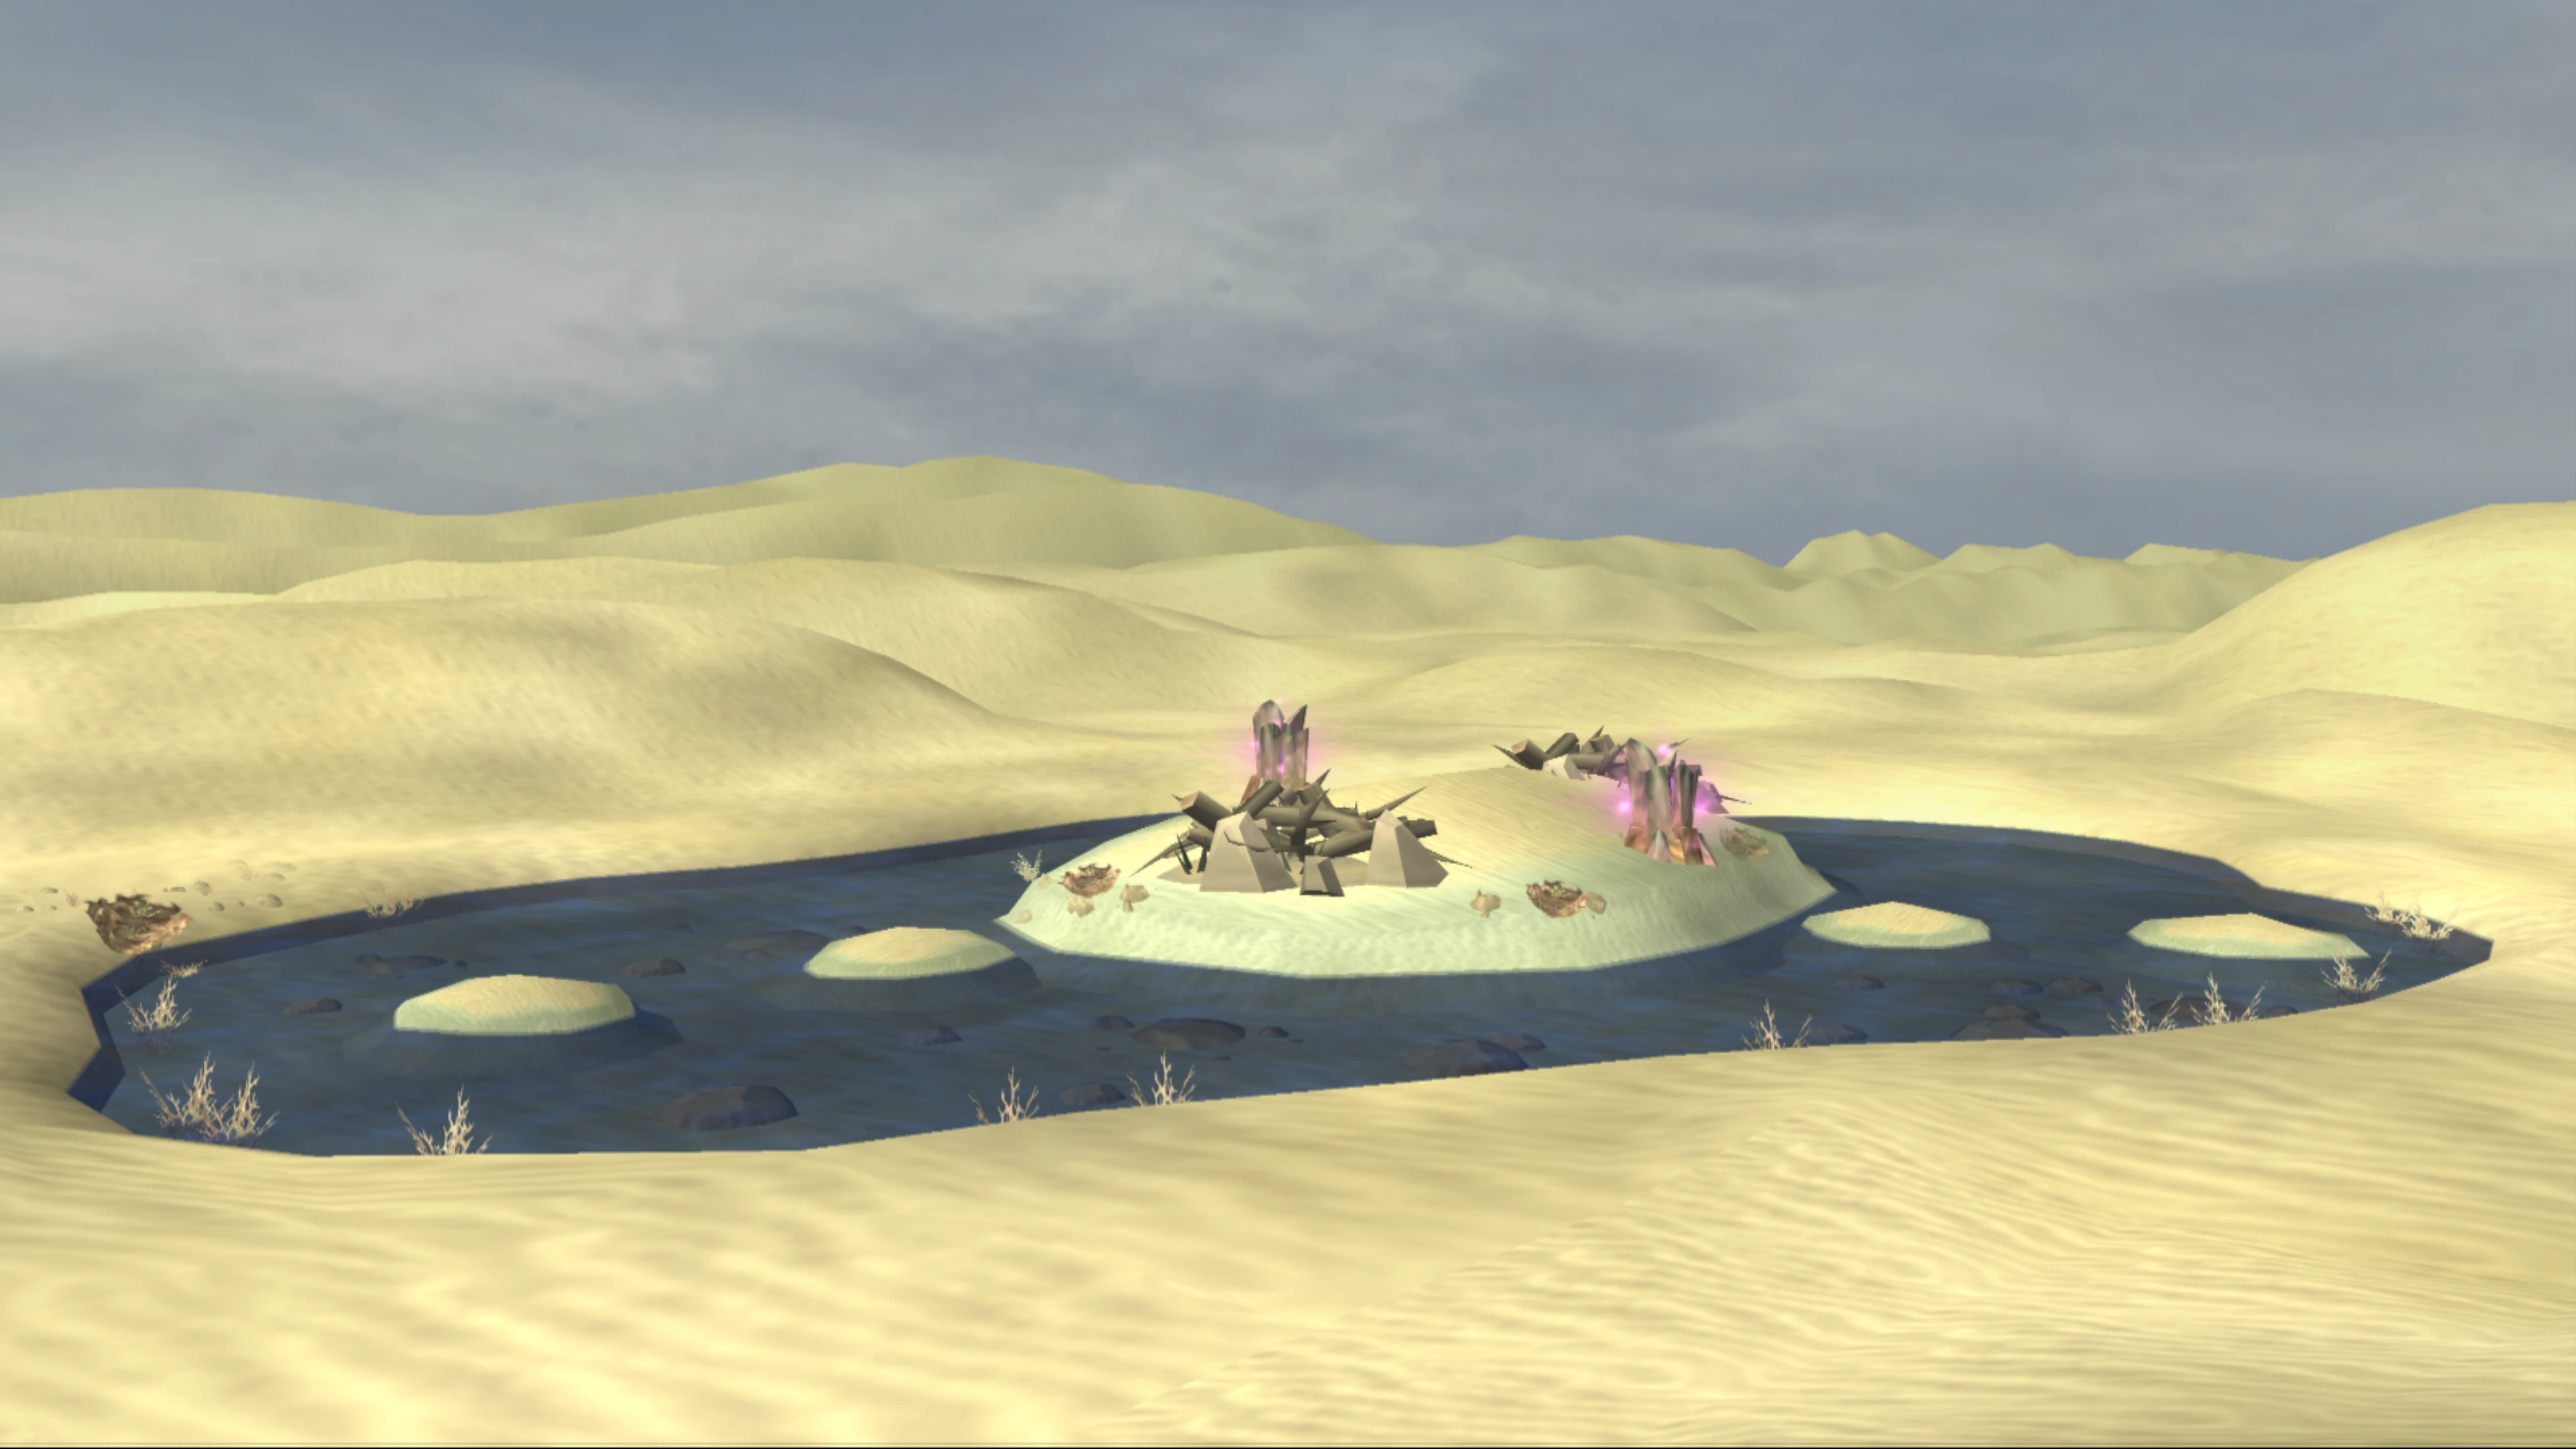
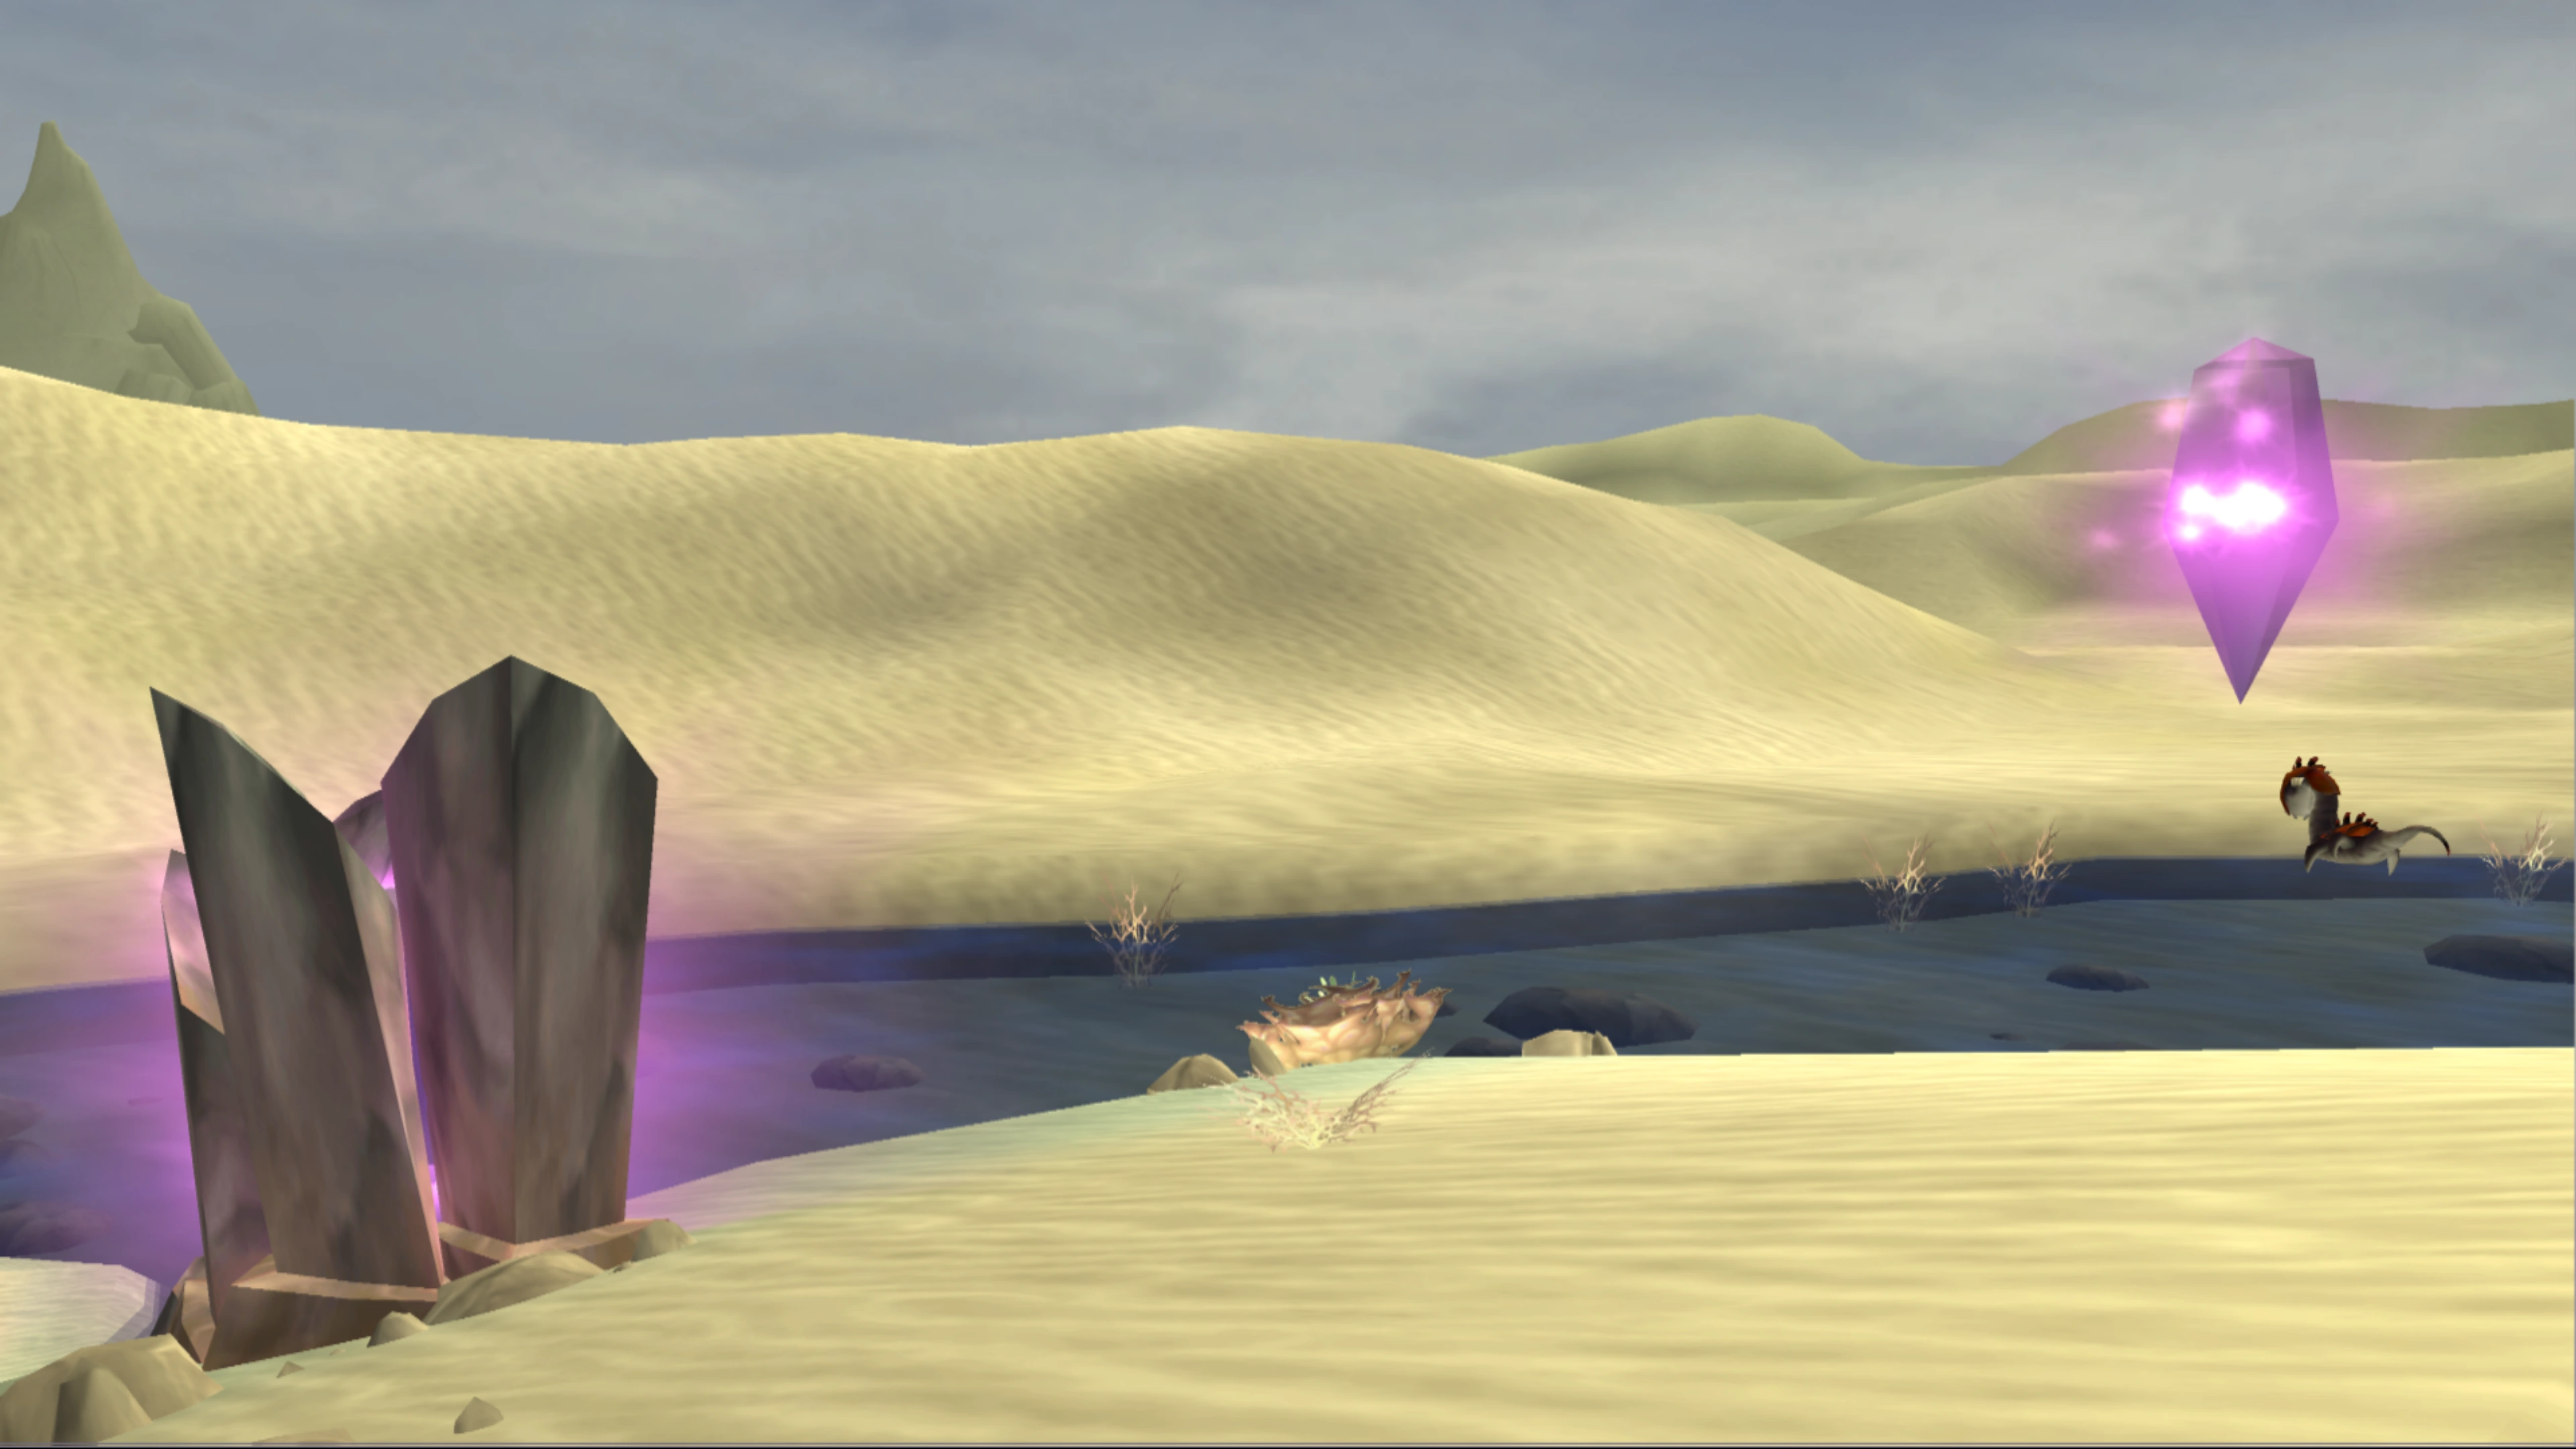
An oasis in the desert.
The desert dunes are a large, empty, open area, surrounded at the western, northern and eastern ends by a large sandhill that cannot be traversed. Most of the dunes are entirely empty, aside from their inhabitants, a few rocks and hills, tumbleweed in the ground, desert crystal shells, and debris used by the desert dune monsters to hide under. The dune monsters' hiding spots are piles of rocks and dead branches, while the desert crystals are contained in a large exterior purple shell. Aside from crystals, the dunes contain Raritanium found within them, dug up with a mining vehicle from set positions in the ground, though it will refresh on return or death.
Aside from a few notable features, the dunes are relatively identical. One portion of the dunes to the west of the town is surrounded entirely by the lava-filled canyon, and a few bridges across it lead to other parts of the canyon and to the town. Two small oases, the only known sparse sources of water in the desert, are located in the dunes, one in the bottom-left corner, another halfway down from the top-left corner. To the right of the town in the dunes is a tall stone pillar with a mining vehicle on top, reachable with a grav-ramp and by using the Gravity Boots. Located just north from the town is a button from where Slim Cognito's weapon mod store can be accessed.
Underground mines[]

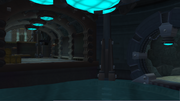
A corridor in the underground mines.
The underground mines are visited during "Explore the area". Unlike the underground tunnels, the mines are largely filled with abandoned machinery and buildings rather than natural caves, held up by metal supports and pillars. The mines also have a lot of water as well as fans, likely to support life. The mines are reached through a small building in the south side of the town, behind which is a slope leading down into a tunnel, the entrance to the mines.
The main features are two water-filled chambers, one of which has a large seesaw-like device. Past this device is a pair of waterfalls coming from two pipelines, which can be frozen and used to walljump to a tunnel leading outside into the canyon. This tunnel connects to another, which in itself is a dead end with only a Glider pad.
Canyon[]
The lava-filled canyon starts from underneath one of the mountain to the south-west of the town, and circles north, east, south, passing the town, and ending to the west underneath the same mountain. It effectively encircles a sizable portion of the desert, though several bridges can be used to cross. It is filled with lava, as well as large metal barriers with circular holes, and five pillars with unknown function that reach almost to the top. At the end of the canyon is a small alcove, reachable with the Glider, containing a platinum bolt and a teleporter that returns to the town.
Gameplay[]
Desert crystals.
The desert contains 100 desert crystals, 65 of which are found in a purple shell, while 35 are found from killing desert dune monsters. These can be sold to the Mystic for 1,000 bolts each (10,000 in challenge mode). The map will fill in parts of the map the player has visited, making it easier to clear them all.
Behind the scenes[]
Tabora was programmed by Tim Trzepacz, and designed by lead designer Brian Allgeier. The entire map layout was based on Jimi Hendrix' head, as Allgeier had to design it after staying up very late from managing the design department, and was stuck for inspiration.[7] The team became attached to the idea of mining crystals as a commodity, leading it to becoming a series mainstay.[8]
For Tabora, armor was introduced to the enemies, which was done to make it apparent how much health an enemy had left (as well as to allow enemies in other levels to be reused and yet still look different).[9] The mutant sandflies were added to encourage players to switch to autotracking weapons.[10] The level could not have a typical Ratchet & Clank enemy setup, due to limitations on the PlayStation 2 hardware's allowance for graphical budget; this led to enemies being spawned from the sand.[11]
It was originally possible to ride a yellow hovering vehicle around the dunes area in Tabora to traverse the level faster. This hovering vehicle is seen in the Insomniac Museum, and would have also been used to fight the Giganto-Mech on Snivelak. However, the vehicle became obsolete with the Charge Boots and mining vehicle, and thus was removed.[12][13]
One of the bug reports filed by Insomniac Games' QA department related to the waterfall in the "Explore the area" path, claiming that the effect "looked like ass". This was sent to Brian Hastings, with the submitter requesting to "remove the 'looks like ass' part" of the bug report. Brian did not remove it, which resulted in an awkward situation.[14] Another common bug report related to finding all crystals. Several bug reports were filed claimed that it was impossible to collect all crystals, though every time this was investigated by the developers, they found that the submitter had simply missed a crystal.[15]
In the Glider segment, in early builds of the game, the obstacles around the lava were originally large piles of rocks until they were replaced by metal pillars. This was likely changed as the rocks blended in with the background.[16]
For the text on the logic puzzles below the wrench, binary code was used, as English text could not be used due to localization issues.[17]
The music that plays during the underground tunnels exploration is also featured in the Insomniac Museum.
Citations[]
- ↑ 1.0 1.1 Going Commando script § "Megacorp's History of Tabora"
- ↑ Going Commando script § "Meet with Mr. Fizzwidget (gameplay)"
- ↑ Going Commando script § "Find a way out of the underground tunnels (gameplay)"
- ↑ Going Commando script § "Find a ship (gameplay)"
- ↑ Going Commando script § "Return crystals to mystic"
- ↑ Going Commando script § "Teleporters"
- ↑ Stout, Garcia July 2011 a 6:56
- ↑ Stout, Garcia July 2011 a 11:09
- ↑ Stout, Garcia July 2011 a 1:22
- ↑ Stout, Garcia July 2011 a 2:52
- ↑ Stout, Garcia 2021 p2 46:39
- ↑ Stout, Garcia July 2011 b 6:56
- ↑ Stout, Garcia September 2011 1:10
- ↑ Stout, Garcia July 2011 b 4:23
- ↑ Stout, Garcia July 2011 b 10:45
- ↑ Going Commando, alpha version
- ↑ Stout, Garcia July 2011 a 4:55
References[]
- Insomniac Games (2003). Ratchet & Clank: Going Commando [Game]. Sony Computer Entertainment. PlayStation 2.
- Stout, Mike; Garcia, Tony [@uselesspodcasts] (2011, July 13). Ratchet & Clank 2 Dev Commentary: 12A - Todano 1 [Video]. YouTube.
- Stout, Mike; Garcia, Tony [@uselesspodcasts] (2011, July 13). Ratchet & Clank 2 Dev Commentary: 12B - Mining on Todano [Video]. YouTube.
- Stout, Mike; Garcia, Tony [@uselesspodcasts] (2011, September 30). Ratchet & Clank 2 Dev Commentary: 37 - Insomniac Museum (Bonus 3) [Video]. YouTube.
- Stout, Mike; Garcia, Tony [@uselesspodcasts] (2021, August 14). Ratchet and Clank: Rift Apart - Episode 9 - "Dudebros" [Video]. YouTube.