Template:Appearances Hoverbike racing is a popular sport in the Bogon Galaxy, playable in Going Commando, in which twenty racers compete against each other riding hoverbikes. Races are sponsored by Megacorp,[1] who manufacture the hoverbikes,[2] and the Megacorp Hoverbike Race hosted adjacent to the Megacorp Games are presented by Team Megacorp Racing.[3]
The most notable participants are the Desert Riders, a hoverbike gang affiliated with the Thugs-4-Less. Hoverbike races are the number one leisure choice of the Thugs-4-Less.[2] Ratchet and Clank competed in hoverbike race courses in the Vukovar Canyon, Barlow, and later in the Megacorp Games, on Joba. Biker helmets allow racers to participate.[1]
History
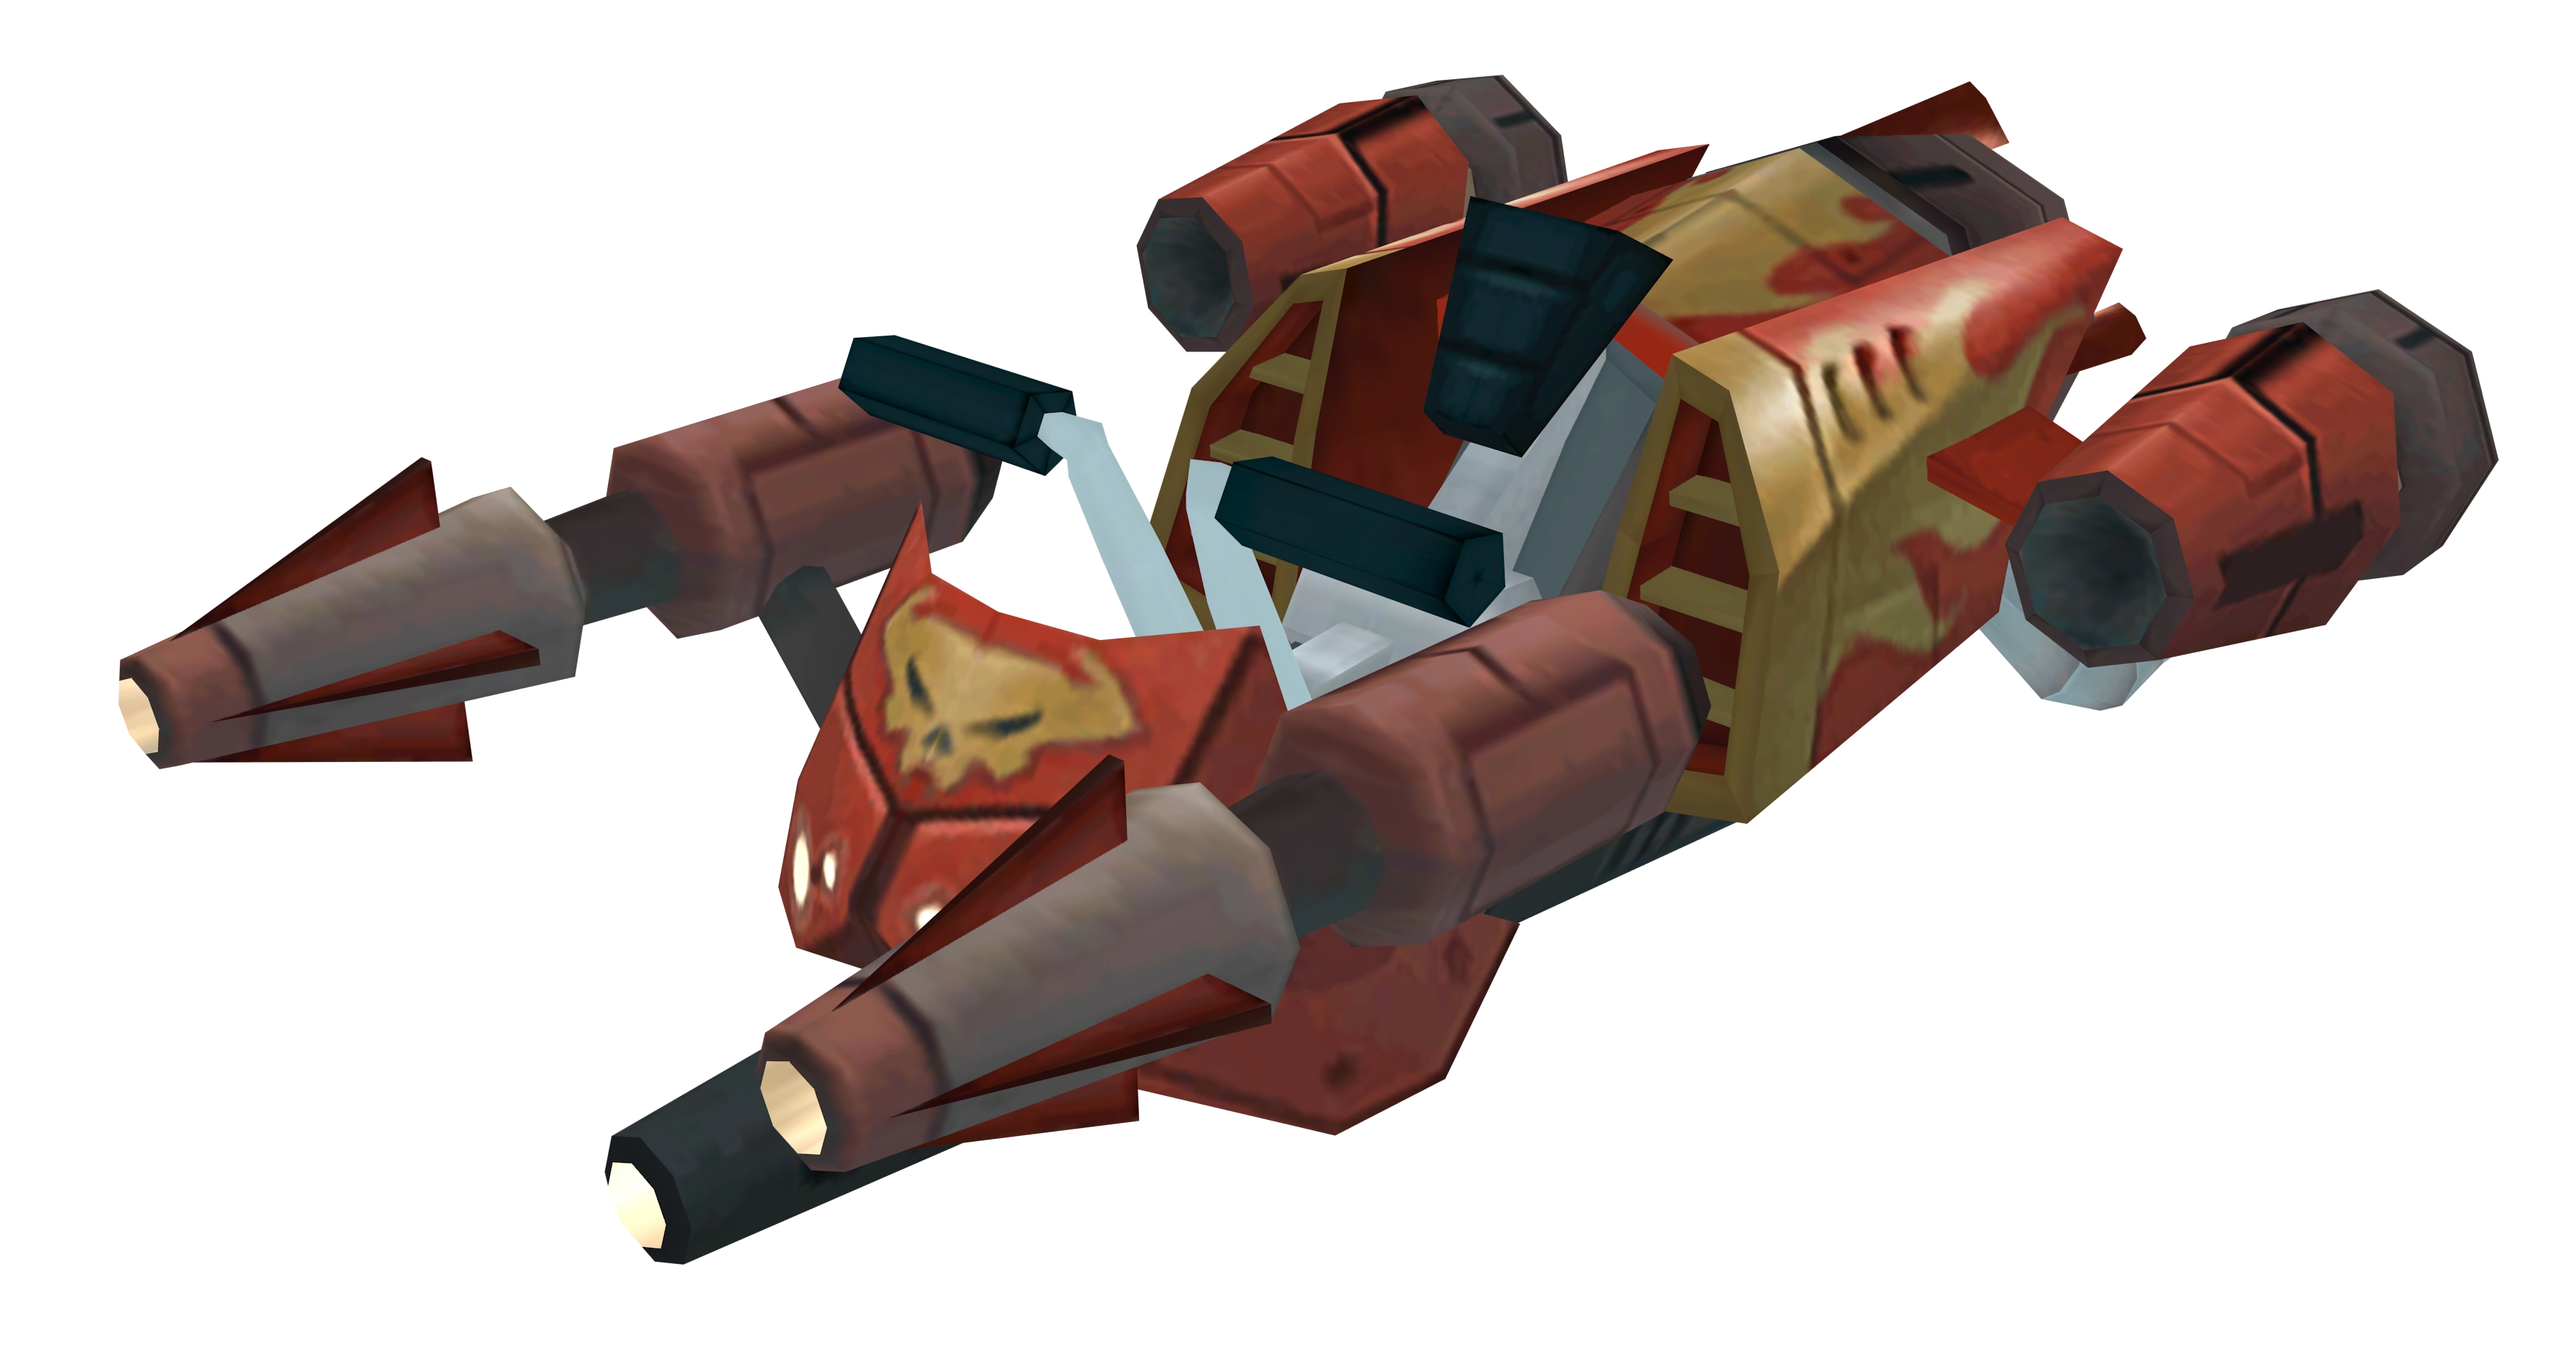
A hoverbike.
Megacorp sponsored hoverbike racing events around the galaxy.[1] The Desert Riders, a gang affiliated with the Thugs-4-Less, were notable participants, who all competed with Megacorp bikes, and chose hoverbike racing as their number one leisure choice.[2]
Ratchet was introduced to hoverbike racing by Abercrombie Fizzwidget, who proposed that Ratchet join the Desert Riders to infiltrate the Thugs-4-Less.[4] After a short confrontation with Biker One in the Vukovar Canyon, Clank diffused the situation and Biker One allowed Ratchet and Clank to participate in this race his hoverbike, Bluebell,[5] if they repaired it with the Electrolyzer. After winning the race, Biker One gave them the, and also gave them a telescreen with a transmission from the Thug Leader, giving them coordinates to the Feltzin System. Ratchet then competed in more hoverbike races on the planet.
Ratchet and Clank later saw an advertisement for the Megacorp Hoverbike Race, presented by Team Megacorp Racing and adjacent to the Megacorp Games on planet Joba, after viewing an advertisement for the games given to them by the Mathematician. They met Biker Two, who identified the helmet and allowed them to compete, with the prize being Charge Boots. After the duo won the event, Biker Two seemed frustrated, as he had wanted the boots for fashion reasons.[6] They then won more races on the planet.
How to play
Ratchet on a Hoverbike on planet Joba.
Hoverbike races are competed in by interacting with the parked hoverbikes on Barlow or Joba. After interacting with them, the player selects from one of the events, which will have a prize in bolts. The events are all similar, with the main exception being that the rules slightly change each time; for instance, later events introduce weapons, open up shortcuts, and allow other racers to attack Ratchet. The player can compete in an event as many times as they choose, though the prize will reduce each time. Each race consists of three laps around a map, and is won only by coming in first place.
Ratchet using a boost
The hoverbike has a boost meter, and can store up to three boosts, collected from boost pick ups, which are red pyramids. Activating a boost with ![]() will use up a boost and cause a quick burst of speed until all boosts are expired. Additionally, traveling through turbo boost pads found on the ground will provide an instant burst of speed and fill the boost meter to full regardless of if a boost was being used or not.
will use up a boost and cause a quick burst of speed until all boosts are expired. Additionally, traveling through turbo boost pads found on the ground will provide an instant burst of speed and fill the boost meter to full regardless of if a boost was being used or not.
If a hoverbike racer hits a wall or is destroyed by a weapon, the racer will be temporarily eliminated. However, this is only a setback, as the racer will respawn at a spot close to where they were destroyed a few moments later. Destroying a racer will make it easier to overtake them, but not remove them. Likewise, being destroyed will not end the race, but getting destroyed too many times can make the race extremely challenging.
It is possible to gain an instant boost at the start of the track by only accelerating just before the green light flashes.
Weapons
In many race events, it is also possible to obtain weapon pickups throughout the tracks, picked up from blue boxes with a question mark. These weapons come in a variety of forms:
| Weapon | Ammo | Description |
|---|---|---|
| Repeater blaster | ~40-50 | A repeating machine gun that fires straight in front of Ratchet. If aimed correctly, this can easily destroy more racers than any of the other weapons. However, it is easy to waste ammo with it and it is difficult to aim. |
| Rocket launcher | Three | Fires homing rockets that lock onto racers and then destroy them. Very easy to aim, but limited in ammo. |
| Shock wave | Single-use | Fires a shock wave that destroys racers in front of Ratchet. This can clear out a cluster of racers in front, but is ineffective against racers that are more spread out or too far away. |
| Shield generator | Instant-use | Instantly activates a shield that makes Ratchet invulnerable for a short period. This provides useful protection, but in most cases the player should avoid running into walls anyway. This is very useful in events when racers can fire at Ratchet. |
Picking up a weapon will replace the current one. In later races, other racers have access to weapons, and can fire rockets at Ratchet. To avoid being hit, the player has to steer sharply to the right or left to prevent them from being able to lock onto him, or to get lucky and pick up a shield generator.
Shortcuts
In some events, shortcuts in both the Barlow and Joba race tracks were available. Once they become available, the player should aim to always use these in order to gain an advantage. Some enemy racers will also use them.
In Barlow, there are two shortcuts. The first is found straight after the room with a pool of water, the track will bend left but an additional passage on the right side will be visible. This was previously blocked by a wall. Directly opposite this shortcut is a well-hidden second one, a narrow opening on the left well will take the player straight to the suspension bridge. The second shortcut is never used by the other racers, and is notably superior to any other option, completely skipping a large part of the race entirely.
In Joba, there are two shortcuts. The first is found at the area with the slick mud. Ratchet must take a sharp turn to the right after going past the boost pad to reach another part of the track. The third shortcut is directly after the turrets. To the right of the entrance to the narrow cave, a section of the ground forms a ramp to a different part of the track; if the ramp is hit with boost speed, the player can make it across the ramp to the shortcut.
List of races
Barlow
The races on Barlow become available after the missions "Find the Desert Riders" and the followup mission "Repair the broken hoverbike". The first race is mandatory for the story, while the rest are optional.
Finishing this hoverboard race track in under 2:10 earns the skill point "Speed demon".
| Name | Rules | Prizes in bolts | ||
|---|---|---|---|---|
| First | Second | Third | ||
| Amateur Circuit | Main Canyon Open Turbos Available |
Telescreen transmission for Feltzin System |
250 | |
| Intermediate Circuit | Main Canyon Open Weapons and Turbos Available |
2,000 bolts | 750 bolts | 250 bolts |
| Vukovar Circuit | Main Canyon and Caves Open Weapons and Turbos Available |
3,000 bolts | 1,000 bolts | 350 bolts |
| Assault Circuit | Main Canyon and Caves Open Weapons and Turbos Available Racers Attack Ratchet |
4,000 bolts | 1,200 bolts | 400 bolts |
| Expert Circuit | Main Canyon and Caves Open Weapons and Turbos Available Racers Attack Ratchet |
6,000 bolts | 2,200 bolts | 750 bolts |
Amateur Circuit
The first race is straightforward, as racers are not too aggressive, and do not have access to any shortcuts or weapons. The best way to win this race is to constantly boost at all times, and always activate boosts as soon as they are acquired. If done right, the player should always end a lap with more boosts than needed.
When the course starts, immediately head to the right of the pillar and take the boost, then grab the boost behind it located just in front of the tunnel. In the next room with water pools, take the ramp in the middle upwards and try to land on the ramp on the left to grab another speed boost. Keep following the path and make a turn to the right to grab the speed boost, then travel through the turbo boost behind it and stick to the left to grab another boost. Keep following the linear track and collecting boosts, but be very careful not to hit the rocks after the building with construction material. Follow on through the narrow bridge to reach a large open field with Barlowian saur-beasts. These must be avoided at all costs, as hitting them will destroy the bike and lead to a setback. After this is a building inside. Take the path on the left, and use it as a ramp to jump up to the turbo boost in the path on the right, then boost out of the slope at the end and reach the finish line. Repeat for two more laps to win in a comfortable first place.
Intermediate Circuit
The second challenge is similar to the first, though the racers are faster and more competent, and weapons are available. The strategy is otherwise similar, and boosts should still be prioritized over weapons, as weapons are random and less reliable than boosts. However, when not in the lead, weapons can be prioritized to gain an advantage over any opponents in front.
Vukovar Circuit
The third challenge becomes more difficult as the racers have access to shortcuts in the cave and are much faster. The shortcut appears in the red lit room and is found in the wall on the right just before the track bends left. The player must head through this cave every time, or else the other racers will easily outpace Ratchet. Through the cave, it is crucial to dodge all the pillars in the middle of the road. Boosts must be prioritized, but if needed, weapons can be used against racers.
An alternate shortcut to the main cave appears on the left-hand side of the track, opposite the first. The shortcut is extremely narrow, but saves even more time. To reach it, do not boost, and drive carefully into it and you will reach the bridge immediately. As this path is risky, and you can beat the track easily with the more reliable shortcut, it may be easier to use the other shortcut.
Assault Circuit
The fourth challenge is mostly difficult due to racers firing at Ratchet. Periodically, racers will try to lock on to Ratchet, at which point the player must make a sharp turn to throw them off before they lock on. The main challenge is to make a sharp turn while still staying on track. It is advisable to get as many weapon pickups as possible, as some will be shields. That aside, the strategy is otherwise the same as the previous race.
Expert Circuit
The final challenge is just a step up in difficulty, as racers are simply more aggressive than before. The same strategies apply. It is important to balance getting as many boosts as possible while avoiding being hit; in some cases, it may be necessary to forego a boost if it means dodging a rocket. Consider also taking the second, quicker shortcut on the left-hand side (opposite the first). Though risky, this will save a considerable amount of time.
Joba
The races on Joba become available as soon as the planet is unlocked after "Defeat the Thug Leader", and are all entirely optional.
Finishing this hoverboard race track in under 2:27 earns the skill point "How fast was that?".
| Name | Rules | Prizes in bolts | ||
|---|---|---|---|---|
| First | Second | Third | ||
| Amateur Circuit | Main Course Open Weapons and Turbos Available |
Charge Boots | 400 bolts | 250 bolts |
| Intermediate Circuit | Main Course Open Weapons and Turbos Available All Turrets Active |
4,000 bolts | 1,200 bolts | 400 bolts |
| Joba Circuit | All Routes Open Weapons and Turbos Available All Turrets Active |
5,000 bolts | 1,750 bolts | 600 bolts |
| Assault Circuit | All Routes Open Weapons and Turbos Available All Turrets Active Racers Attack Ratchet |
6,000 bolts | 2,000 bolts | 750 bolts |
| Expert Circuit | All Routes Open Weapons and Turbos Available All Turrets Active Racers Attack Ratchet |
8,000 bolts | 2,750 bolts | 900 bolts |
Amateur Circuit
The first race is relatively simple, as the racers are not too aggressive. Much like the Amateur Circuit on Barlow, the way to beat this race is to constantly boost at all times, activating boosts as soon as they become available. Unlike Barlow, the weapons are available from the first race, though boosts should be prioritized.
When the course starts, immediately either head to the left to pick up the boost, or pick up the boost on the right. Ahead of you are two tunnels, though only one will be open at a time; head through whichever is open, go through the tunnel, then to the swamp outside. In the swamp, head right to find a red boost pad, and use it to boost forward through the tunnel. If you remain boosting, you will end up in the upper level afterwards through the trees, if not, you will use the lower level. Keep going forward, and when explosive barrels appear, dodge them, and turn sharply to the left for a boost. Head through the cave on the left, and when a slope shows up on the right, head up it and then you should end up on the left downwards slope to pick up another boost. Repeat this for two more laps to win the race.
Intermediate Circuit
The second race is largely the same as the first, with the main difference being that the path with turrets dropping mines near the end of the track is more hazardous, as there are three sets of barrels to dodge, rather than one. In this case, a good strategy is to save up one of the weapon power-ups to use it to destroy the mines and dodge them more easily; the repeater blaster and electric wave are both useful for this, as the rocket launcher is ineffective. As the racers are faster this time, it is also a good idea to use weapons more often to destroy them and gain an advantage. Otherwise, this race is more-or-less identical.
Joba Circuit
The third race features a step up in difficulty, as well as opening up two shortcuts. The first is an opening on the right of the swamp near the beginning, leading to a path cutting past most of the forest. This can be difficult to reach, forcing you to slow down to enter the narrow passageway, but is never used by the other racers. The second is a fork on the right as an alternative route to the cave, which leads to a large open path through the forest. This fork can be more easily reached with a boost, which can be obtained on the left of the forest path leading into it after dodging a mine, but is also available directly after the first shortcut. The path is quicker, so it is important to always take this path on every single lap; it is still possible to reach this path without boosting, but acceleration must be constant, and must not be interrupted by sharp steers or by hitting another racer. As usual, the same tactics apply: avoid the hazards, boost constantly, and use weapons when necessary.
Assault Circuit
The fourth race features racers that target Ratchet with rockets, and otherwise has identical rules to the previous race: all turrets are active, and the fork on the right is open. Much like the Assault Circuit on Barlow, as soon as a racer attempts to lock onto Ratchet, it is important to steer sharply to throw them off. The main challenge here is not to steer too sharply so as to be thrown off, as this may make reaching a boost too difficult, or lead to a crash. If a racer targets Ratchet before a hazard, it can be possible to simply allow the rocket to lock on, as it could just hit into the hazard if steered around. Due to the step up in difficulty, it is especially important to boost at all times and avoid any hazards.
Expert Circuit
The fifth race features identical rules to the previous race, and a step up in difficulty as racers become more challenging. The strategy is the same as always, but it becomes even more crucial to avoid being destroyed, to always take the right fork, and to use weapons to destroy other racers; without this, it is not possible to win. If the yellow repeater blaster pick up is ever obtained, it is essential to save it and use it to destroy the mines, and to always pick up the boost so as to access the right fork. However, the first shortcut can be used to avoid the majority of the other racers and the mines altogether.
Behind the scenes
Mary Stout, the wife of Mike Stout, tested the hoverbike races, leading to her being credited as "Mary 'Hoverbike Chick' Stout".[7] Her best times were used as a basis for the skill point times.[8]
In order to store hoverbike races in memory, Going Commando used a "chunking" method, and also scaled down the models of everything in the races to 50% of their normal size. The chunking method meant a plane and a normal were defined, and the hoverbike races (or anything on the side) were loaded into a separate chunk where it was preloaded but not residing in memory. This would lead to faster loading than if a full level was being loaded in, but still kept the races out of memory allowing more to be allocated. This came as a result of Sony's directive to push for the PlayStation 2 having shorter load times as one of the console's strengths. Scaling everything down also meant this was possible to fit the races in the chunk. However, to maintain a sense of speed, the developers brought the camera low and brought the field up a lot in order to make the hoverbike feel faster, as it created the illusion that the ground was going by faster.[9]
References
- ↑ 1.0 1.1 1.2 Going Commando menu § "Biker Helmet"
- ↑ 2.0 2.1 2.2 Going Commando script § "Desert Riders Ad"
- ↑ Going Commando script § "Mega Mega Megacorp Games"
- ↑ Going Commando script § "Destroy the signal transponders (gameplay)"
- ↑ Going Commando script § "Find the Desert Riders (gameplay)"
- ↑ Going Commando script § "Win the Megacorp Hoverbike Race (gameplay)"
- ↑ Developer Commentary: Ratchet and Clank 2 - Ep 6 - Part 2/2 (@0:18) published by uselesspodcasts on June 25, 2011 on YouTube. Accessed June 2, 2019.
- ↑ Developer Commentary: Ratchet and Clank 2 - Ep 15 (@10:48) published by uselesspodcasts on July 19, 2011 on YouTube. Accessed June 2, 2019.
- ↑ Developer Commentary: Ratchet and Clank 2 - Ep 6 - Part 2/2 (@3:41) published by uselesspodcasts on June 25, 2011 on YouTube. Accessed June 2, 2019.