Medical Outpost Omega is a location in the Solana Galaxy featured in Size Matters. It was a space station operated by the technomites used for medical research in its Surgical Facility. Notably, the station was used by the technomites to extract Ratchet's DNA and use it to produce Ratchet clones at the orders of Otto Destruct.
Ratchet was taken to the station after being captured by Luna. After his DNA was extracted, Clank, arriving as Giant Clank, arrived to rescue him, and the two fled the station. Following its destruction, it was used for skyboard races.
History[]
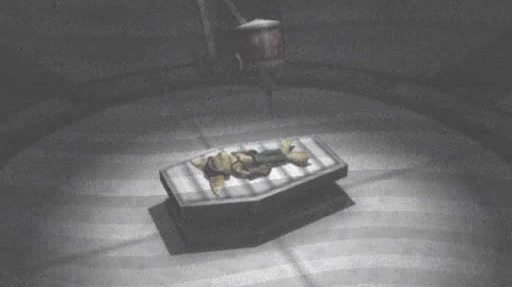
Ratchet in surgery.
Otto Destruct, leader of the technomites, wished to use the station to extract Ratchet's DNA and create an army of clones. Ratchet was captured by Luna on Kalidon, and taken to the station where medic bots extracted his DNA on an operating table. While this took place, he entered a strange Dreamtime sequence. In this time, the station was able to replicate his DNA and produce a Ratchet clone prototype, sophisticated enough that it took twenty-six of the technomites' best warriors to destroy it.[1]
Somehow, Skrunch was able to take footage of Ratchet's operation and deliver it to Clank on Metalis, prompting Clank to arrive as Giant Clank and rescue Ratchet. When Clank arrived, Ratchet awoke, with only a few flashes of memory about the doctor bot operation, and a headache, but otherwise unharmed.[2]


Medical Outpost Omega exploding.
Ratchet and Clank fled the station in "Escape the medical facility". After retrieving his equipment, he then fought his way through the facility until he found the DNA replication laboratory. After realizing what had happened, he threw a DNA vial at the station's core, beginning its destruction. The two then fled the station, though not before seeing a transmission from Luna to Otto Destruct revealing her location on Challax. The station then blew up after fleeing in their ship.


The Skyboarder handing over the Polarizer.
Immediately afterwards, intrepid racers pieced together the debris of the station into a race track spanning the nearby asteroid belt.[3] Ratchet and Clank found the Skyboarder, who attempted to set up a race by claiming he had "two identical skyboards" to use, though Clank noticed the Skyboarder was attempting to use the Polarizer on the second, his own. After this, he claimed to have not noticed it, but bet it against them for a race.[4] Ratchet beat him in a race, causing him to give them the Polarizer.
Layout[]
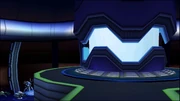
The Medical Outpost Omega was structured with a pentagonal ring of cylindrical structures connecting five compartments located around a central compartment. The station had a simplistic white look, and was located in apparent deep space. Nearby it was an asteroid belt on which the debris fell to form a skyboard race track, serving as a cluster of islands for use on the track.
Station[]

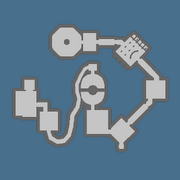
Map layout of Medical Outpost Omega.
The station's six compartments had an interior look resembling its exterior, with mostly plain white walls, which were often filled with computer terminals. The station was also well-defended. Some rooms contained turrets that could be operated by Clank and fired freeze rays, while others were guarded by technomite robots. For added security, the station's doctor and nurse robot staff were also capable of self-defense, with the doctor bots using lasers as weapons, and nurse robots attacking with their syringes. Between each of their compartments were hallways that used a tripwire system, in which touching the ground activated gun turrets.

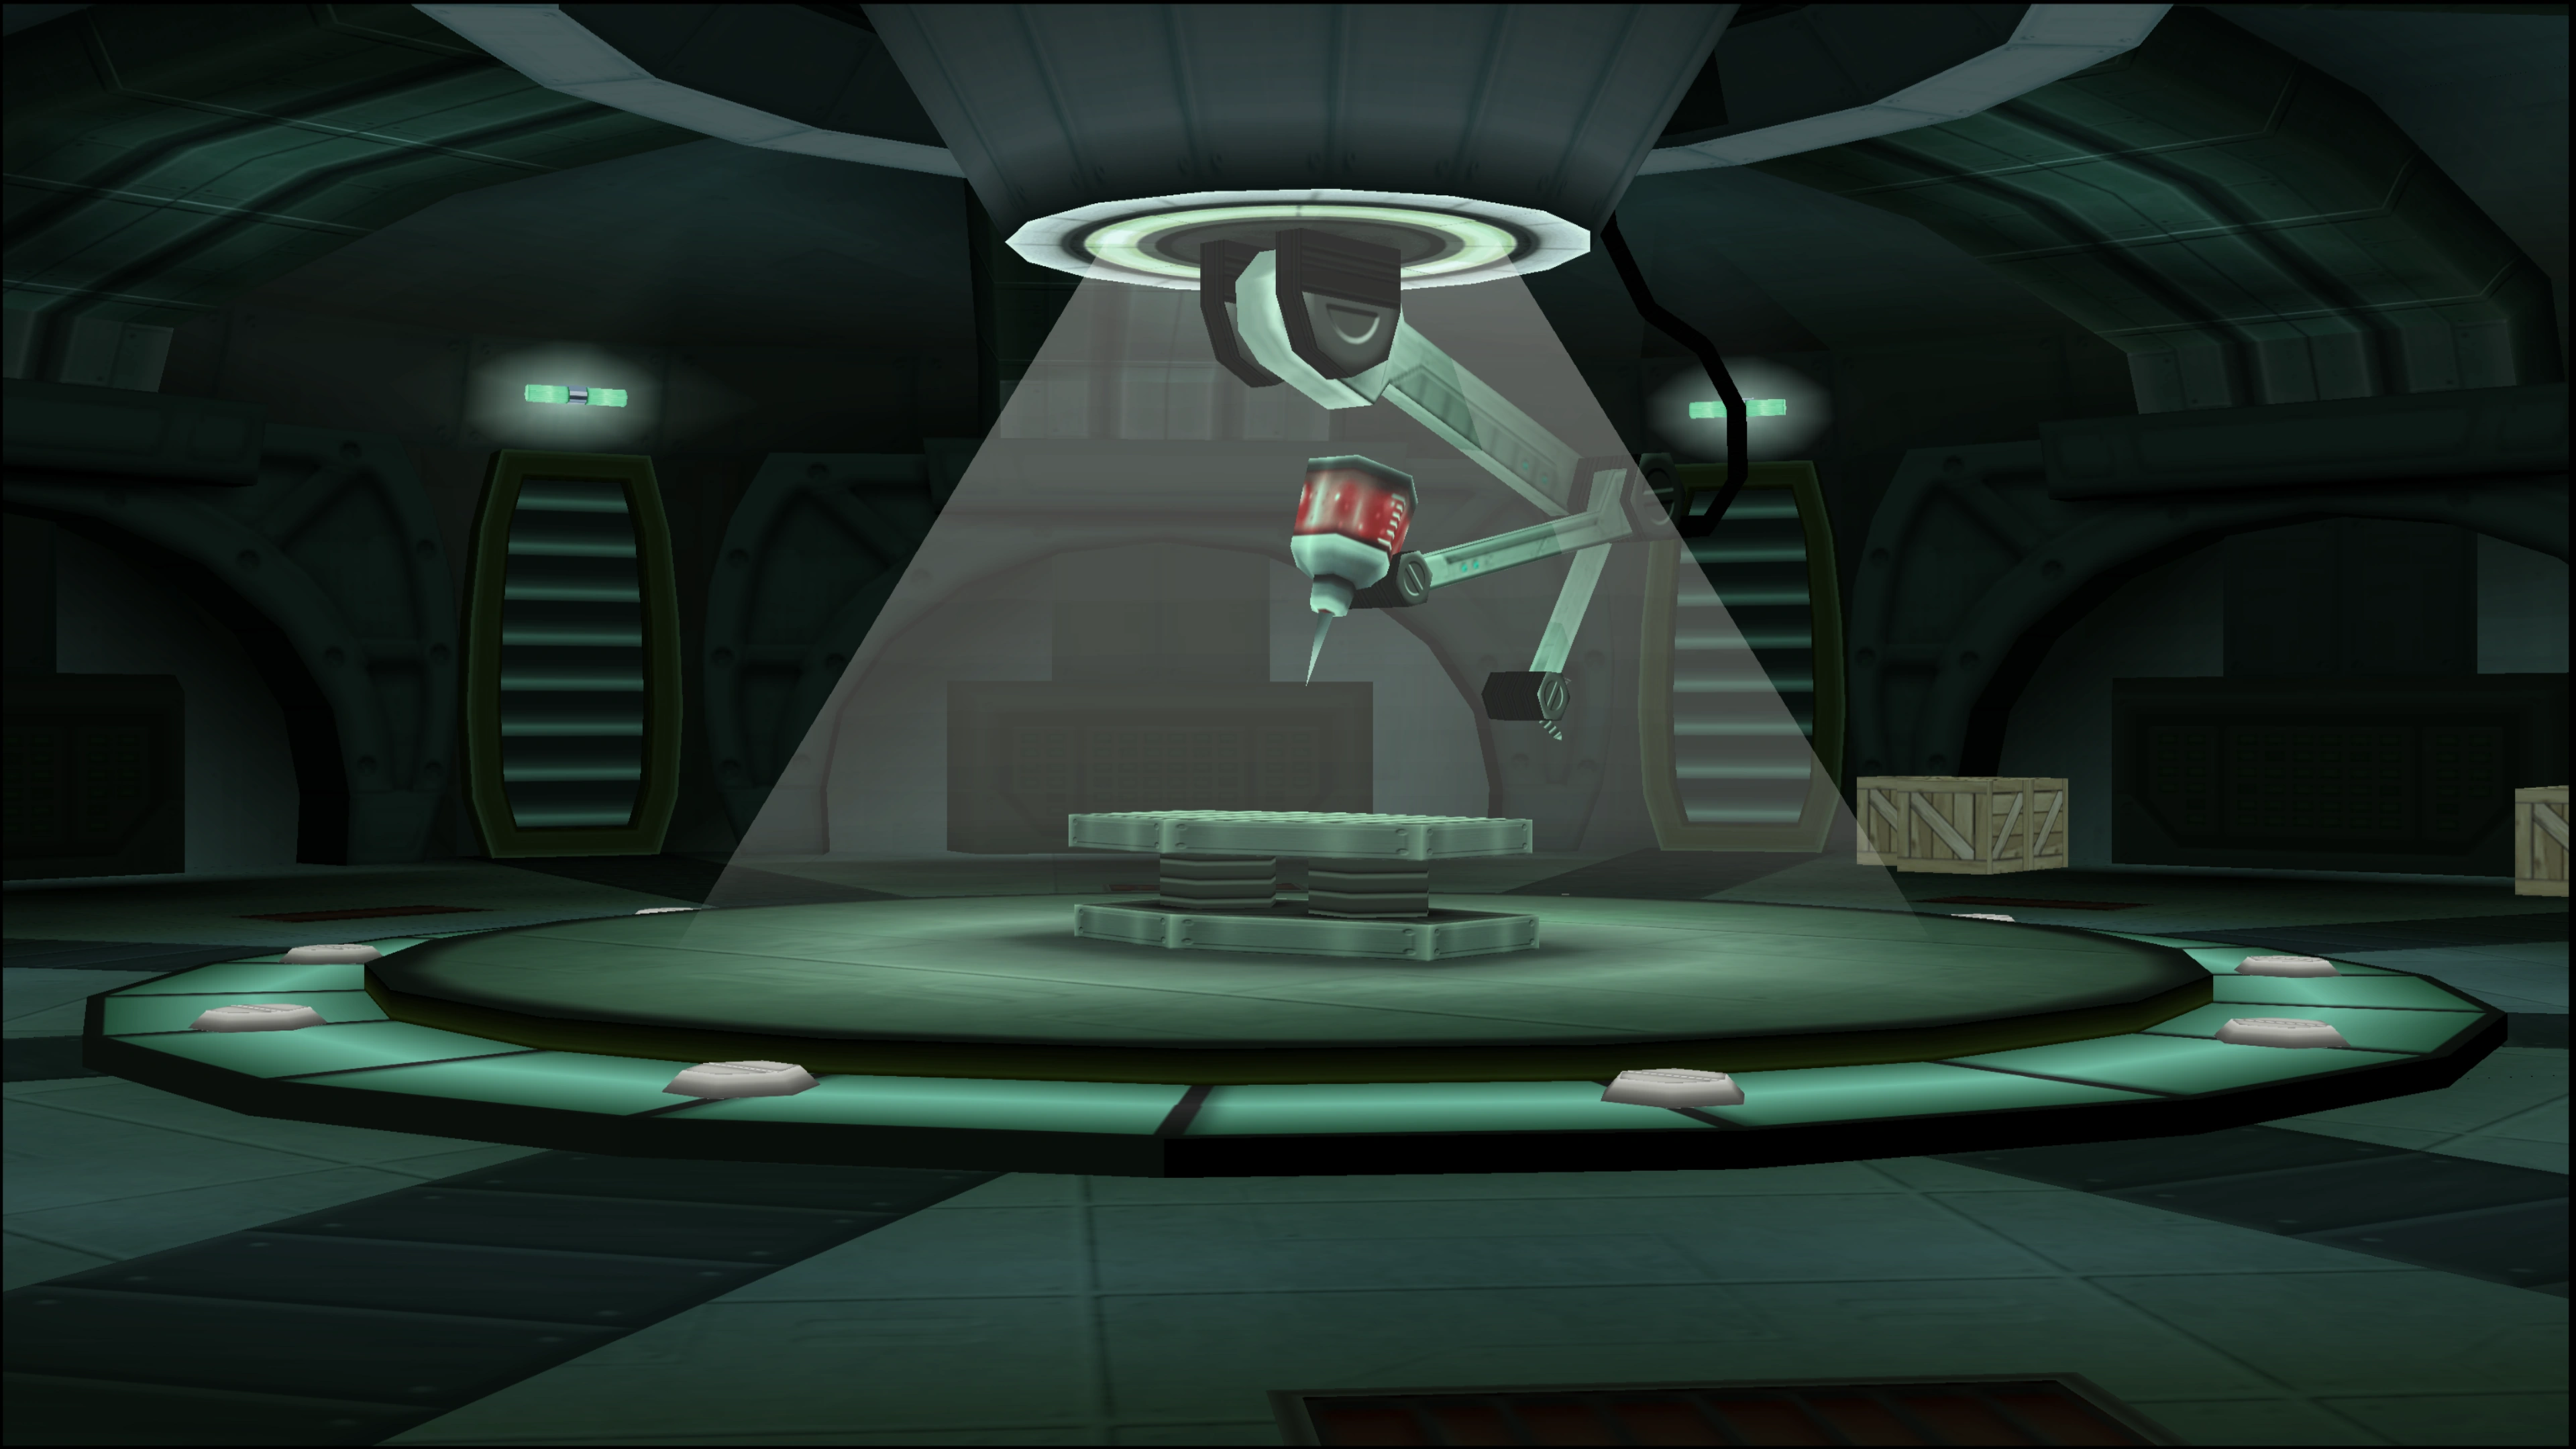
The operating room.
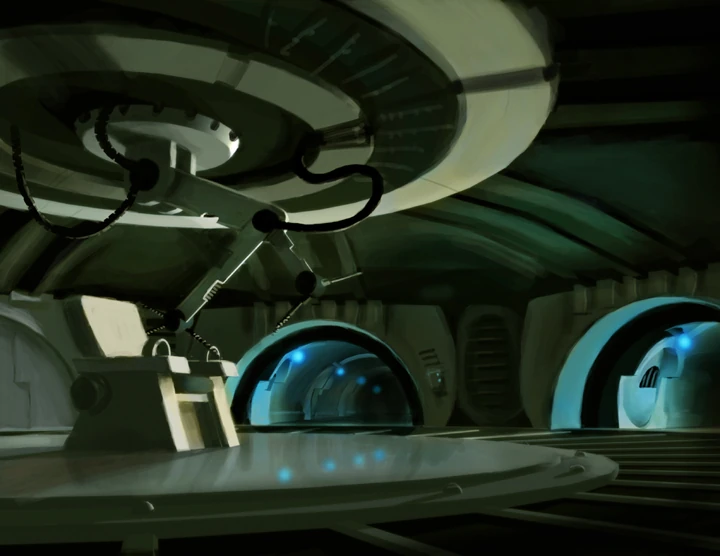
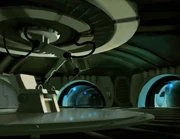
The top compartment contained the largest surgery room, in which Ratchet was operated on. This was a wider room with an operating table in the center, and a robotic arm on the ceiling with a syringe attached. Connected to this were a series of rooms between hallways, including another general-purpose surgery room with operating tables, and a control center, with a compartment that contained a locker where Ratchet's equipment was kept.

The station core.
The path through part of the outer ring of compartments was segregated from the central area, and only a destroyed wall allowed it to be accessed. In the middle of the central compartment was the core of the station, which in contrast to the outer station was dimly lit with a small blue tint. The core itself was located atop a wall. Nearby was a room where the Ratchet clone experiment was being analyzed, with shelves filled with DNA vials and footage of Ratchet clones. The upper floors of the core were themselves also segmented from the rest of the station, as only a chute led down to the lower rooms. This slope eventually led to the hangar, a wide, spacious room, adjacent to a communications room with several terminals.
Wreckage[]
The wreckage following the destruction of Medical Outpost Omega is spread across an asteroid belt, as skyboard racers quickly pieced it together to form a track.[3] On a group of these are a landing pad adjacent to the remains of the operating table used for Ratchet's surgery. The rest are spread across the lower asteroids, with debris including the operating tables and a whole island filled with twisted metal found across the track. Nearby the asteroid belt is a fully constructed race track surrounded by a green forcefield, complete with ramps and other obstacles for the races.
")
")
")
Behind the scenes[]
Concept art for Medical Outpost Omega.
In the PSP release, if the player did not have the Concussion Gun by the time they were at Medical Outpost Omega, they would receive it for free during "Find your equipment".